Customisation
This chapter describes a number of mechanisms by which the UI provided by the Wicket viewer can be customised.
Top-level Index Page
If the user visits the root of the webapp (eg http://localhost:8080), then the top-level index.html page is shown.
Spring Boot specifies that the location of this index.html is in the static package, typically under src/main/resources in the webapp module.
This is a static file that typically has hyperlinks to the available resources available (eg the Wicket viewer at /wicket/, the Swagger UI is bound to /swagger-ui, the Restful at /restful/).
If instead you want to redirect users directly to the Wicket viewer, then this file should contain simply:
<html>
<head>
    <META HTTP-EQUIV="Refresh" CONTENT="0; URL=wicket/"/>
</head>
</html>
Brand logo
By default the Wicket viewer will display the application name top-left in the header menu. This can be changed to display a png logo instead.
Screenshots
The screenshot below shows an app with a 'brand logo' image in its header:

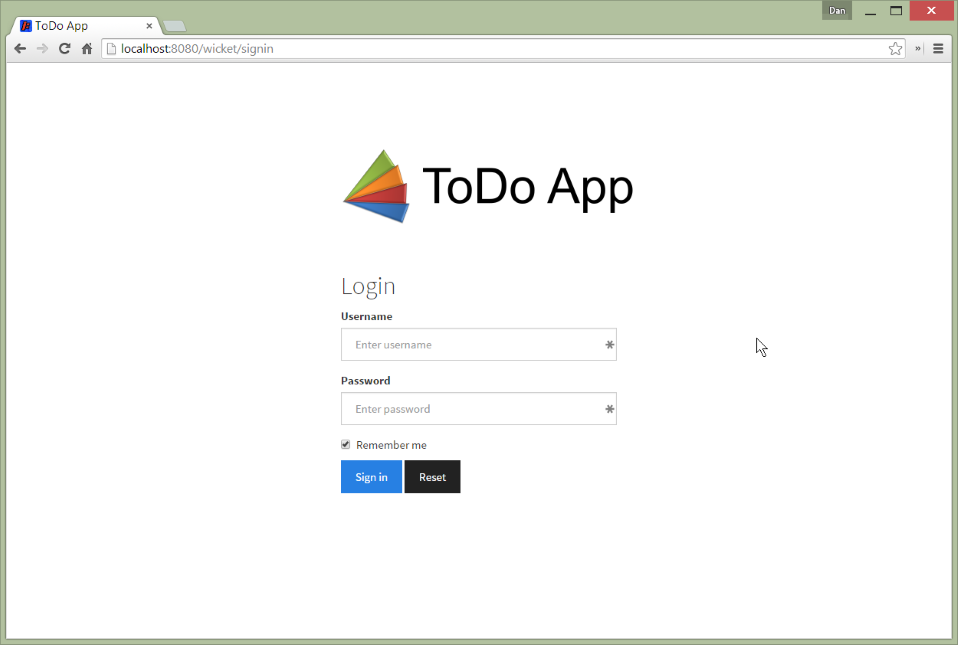
A custom brand logo (typically larger) can also be specified for the signin page:

To configure, set the causeway.viewer.wicket.application.brand-logo-signin and causeway.viewer.wicket.application.brand-logo-header config properties:
causeway.wicket.viewer.application.brand-logo-signin=images/todoapp-logo-signin.png
causeway.wicket.viewer.application.brand-logo-header=images/todoapp-logo-header.png
These files are resolved relative to the static package in src/main/resources.
Alternatively an absolute URL can be specified.
In terms of sizing:
-
for the signin image, a size of 400x100 works well.
-
for the header image, a size of 160x40 works well.
You may also wish to tweak the application.css. For example, a logo with height 40px works well with the following:
.navbar-brand img {
    margin-top: -5px;
    margin-left: 5px;
}
Welcome page
It’s possible to customize the application name, welcome message (as displayed on the home page if not home page service is configured) and the about message can all be customized. This is done by specifying the appropriate configuration properties:
causeway.viewer.wicket.application.name=My Wonderful App
causeway.viewer.wicket.welcome.file=welcome.html                (1)
causeway.viewer.wicket.application.about=My Wonderful App v1.0| 1 | the welcome.html file is resolved relative to src/main/webapp. |
|
Do not confuse the welcome page file with the top-level index page; they are different things! |
The application.name is used both on the sign-in page and also top-left on the header.
It’s also possible to replace this text with images:
causeway.viewer.wicket.application.brandLogoSignin=/images/logo-512.png
causeway.viewer.wicket.application.brandLogoHeader=/images/logo-80x32.png
These images are resolved relative to src/main/webapp.
About page
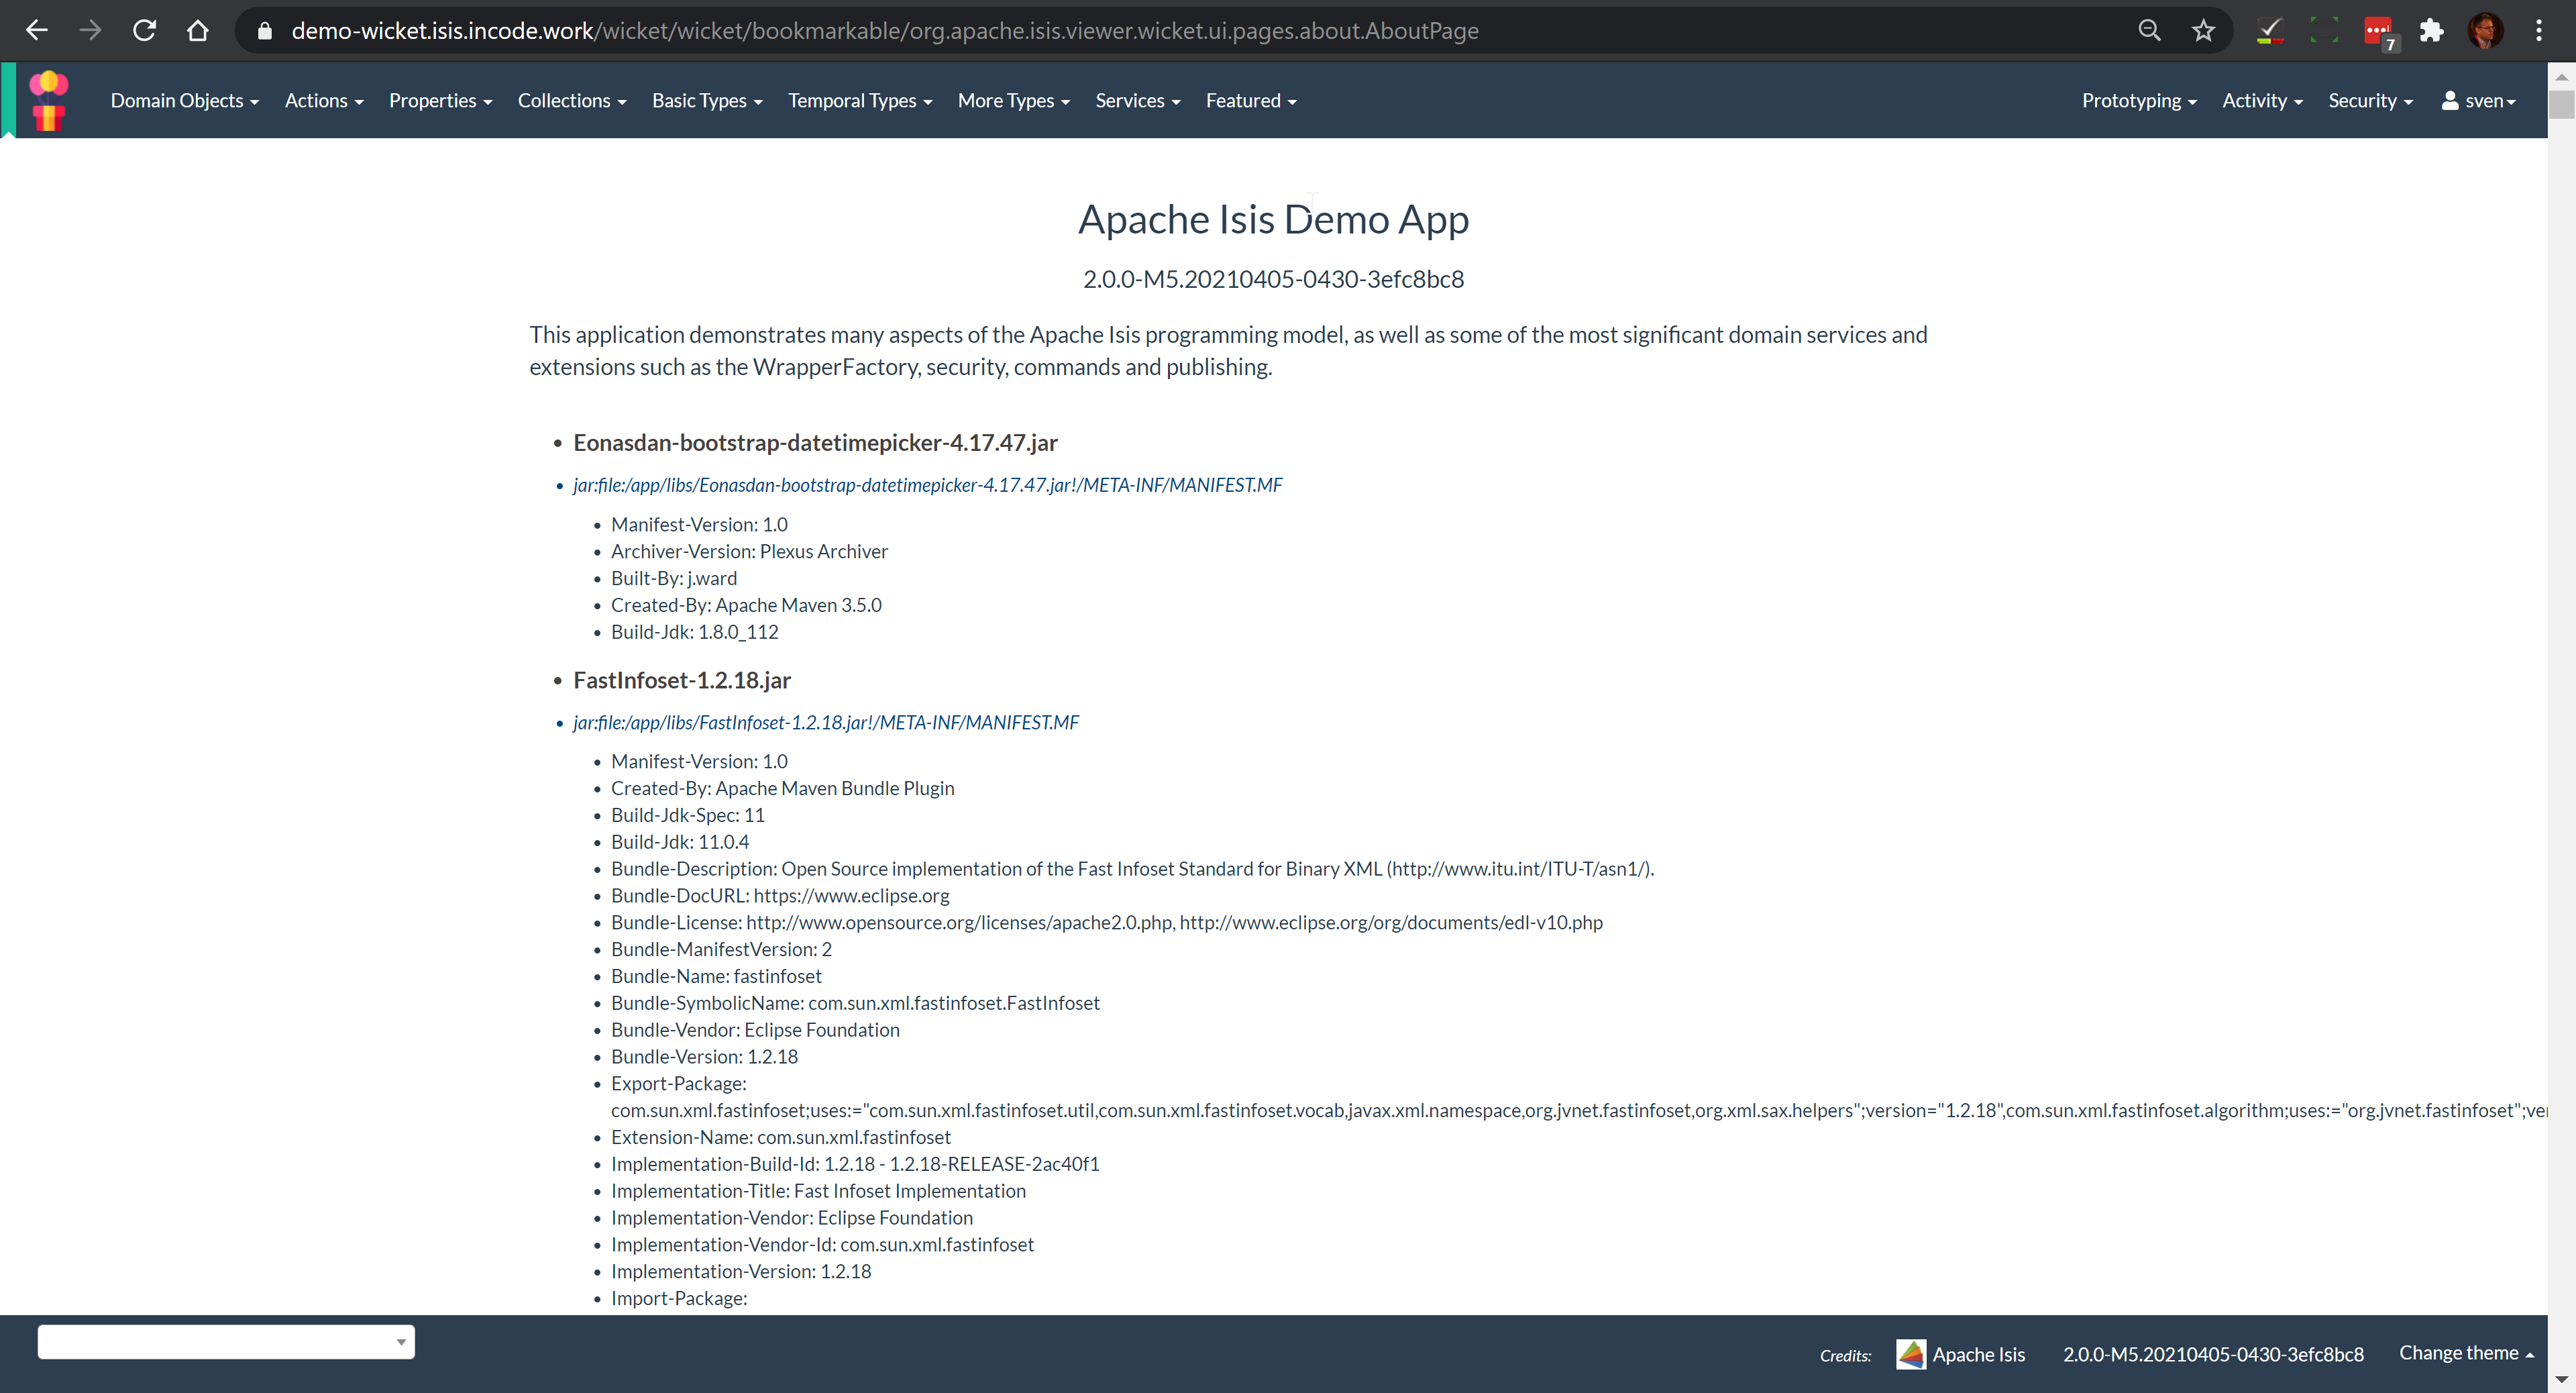
Causeway' Wicket viewer has an About page that, accessed by clicking on the application version in the footer.

The about page provides a dump of the JARs that make up the webapp, along with the configured application name and configured about text.
Custom CSS
The HTML generated by the Wicket viewer include plenty of CSS classes so that you can easily target the required elements as required. For example, you could use CSS to suppress the entity’s icon alongside its title. This would be done using:
.entityIconAndTitlePanel a img {
    display: none;
}
These customizations should generally be added to application.css; this file is included by default in every webpage served up by the Wicket viewer.
Individual members
For example, the ToDoItem object of the example TodoApp has a notes property.
The HTML for this will be something like:
<div>
  <div class="property ToDoItem-notes">
    <div class="multiLineStringPanel scalarNameAndValueComponentType">
      <label for="id83" title="">
        <span class="scalarName">Notes</span>
        <span class="scalarValue">
           <textarea
              name="middleColumn:memberGroup:1:properties:4:property:scalarIfRegular:scalarValue"
              disabled="disabled"
              id="id83" rows="5" maxlength="400" size="125"
              title="">
           </textarea>
         <span>
      </label>
    </div>
  </div>
</div>
The application.css file is the place to add application-specific styles. By way of an example, if (for some reason) we wanted to completely hide the notes value, we could do so using:
div.ToDoItem-notes span.scalarValue {
    display: none;
}
You can use a similar approach for collections and actions.
Custom CSS styles
The above technique works well if you know the class member to target, but you might instead want to apply a custom style to a set of members.
For this, you can use the @PropertyLayout(cssClass=…).
For example, in the ToDoItem class the following annotation (indicating that this is a key, important, property) :
@PropertyLayout(cssClass="x-myapp-highlight")
public LocalDate getDueBy() {
    return dueBy;
}
would generate the HTML:
<div>
    <div class="property ToDoItem-dueBy x-myapp-highlight">
        ...
    </div>
</div>
This can then be targeted, for example using:
div.x-myapp-highlight span.scalarName {
    color: red;
}
Note also that instead of using @PropertyLayout(cssClass=…) annotation, you can also specify the CSS style using a layout file.
Table columns
Sometimes you may want to apply styling to specific columns of tables. For example, you might want to adjust width so that for certain properties have more (or less) room than they otherwise would; or you might want to hide the column completely. This also applies to the initial icon/title column.
There is also the issue of scoping:
-
You may wish the style to apply globally: that is, dependent on the type of entity being rendered in the table, irrespective of the page on which it is shown.
-
Alternativel, you may wish to target the CSS for a table as rendered either as a parented collection (owned by some other entity) or rendered as a standarlone collection (the result of invoking an action).
In each of these cases the Wicket viewer adds CSS classes either to containing divs or to the <th> and <td>
elements of the table itself so that it can custom styles can be appropriately targetted.
Applying styles globally
Every rendered collection containing a domain class will be wrapped in a <div> that lists that domain class (in CSS safe form).
For example:
<div class="entityCollection com-mycompany-myapp-Customer">
    ...
    <table>
        <tr>
            <th class="title-column">...</th>
            <th class="firstName">...</th>
            <th class="lastName">...</th>
            ...
        </tr>
        <tr>
            <td class="title-column">...</td>
            <td class="firstName">...</td>
            <td class="lastName">...</td>
            ...
        </tr>
        ...
    </table>
    ...
</div>
Using this, the lastName property could be targeted using:
.com-mycompany-myapp-Customer th.lastName {
    width: 30%;
}
Parented collections
Parented collections will be wrapped in <div>s that identify both the entity type and also the collection Id.
For example:
<div class="entityPage com-mycompany-myapp-Customer">       (1)
    ...
    <div class="orders">                                    (2)
        <table>
            <tr>
                <th class="title-column">...</th>
                <th class="productRef">...</th>
                <th class="quantity">...</th>
                ...
            </tr>
            <tr>
                <td class="title-column">...</td>
                <td class="productRef">...</td>
                <td class="quantity">...</td>
                ...
            </tr>
            ...
        </table>
        ...
    </div>
    ...
</div>| 1 | the parent class identifier |
| 2 | the collection identifier. This element’s class also has the entity type within the collection (as discussed above). |
Using this, the productRef property could be targeted using:
.com-mycompany-myapp-Customer orders td.productRef {
    font-style: italic;
}
Standalone collections
Standalone collections will be wrapped in a <div> that identifies the action invoked.
For example:
<div class="standaloneCollectionPage">
    <div class="com-mycompany-myapp-Customer_mostRecentOrders ...">     (1)
        ...
        <div class="orders">
            <table>
                <tr>
                    <th class="title-column">...</th>
                    <th class="productRef">...</th>
                    <th class="quantity">...</th>
                    ...
                </tr>
                <tr>
                    <td class="title-column">...</td>
                    <td class="productRef">...</td>
                    <td class="quantity">...</td>
                    ...
                </tr>
                ...
            </table>
            ...
        </div>
        ...
    </div>
</div>| 1 | action identifier. This element’s class also identifies the entity type within the collection (as discussed above). |
Using this, the quantity property could be targeted using:
.com-mycompany-myapp-Customer_mostRecentOrders td.quantity {
    font-weight: bold;
}
Custom JavaScript
The Wicket viewer ships with embedded JQuery, so this can be leveraged, for example to perform arbitrary transformations of the rendered page on page load.
Similar to the application.css file, the Wicket viewer automatically serves the scripts/application.js javascript file in every page load.
This is relative to the static package, under src/main/resources.
Currently only one such .js file can be registered.
If you wish to change the location of the file, use the causeway.viewer.wicket.application.js configuration property.
|
Just because something is possible, it doesn’t necessarily mean we encourage it. Please be aware that there is no formal API for any custom JavaScript that you might implement to target; future versions of Apache Causeway might break your code. As an alternative, consider using the |
Cheap-n-cheerful theme
The application name (as defined by causeway.viewer.wicket.application.name) is also used in sanitized form as the CSS class in a <div> that wraps all the rendered content of every page.
For example, if the application name is "ToDo App", then the <div> generated is:
<div class="todo-app">
    ...
</div>
You can therefore use this CSS class as a way of building your own "theme" for the various elements of the wicket viewer pages.
Alternatively you could "do it properly" and create your own Bootstrap theme, as described in the extending chapter.
Embedded View
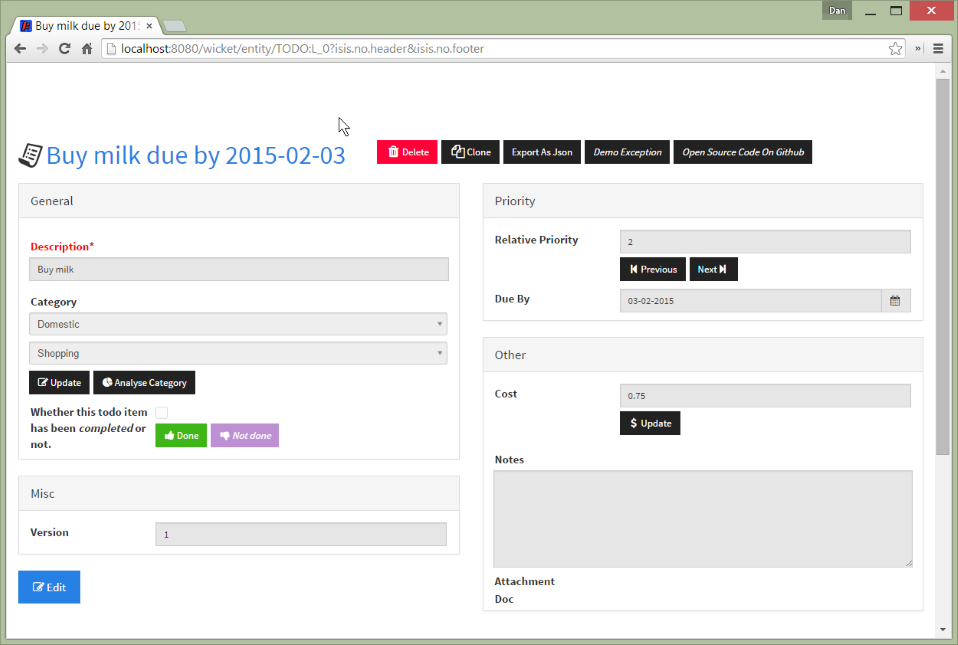
The Wicket viewer provides some support such that an Apache Causeway application can be embedded within a host webapp, for example within an iframe. Currently this support consists simply of being able to suppress the header and/or footer.

