Spring Security OAuth2
This guide describes the integration of Spring security’s OAuth2 client. Authentication is done via OAuth2 and authorization can be done using another implementation, typically using Secman security module (with roles/permissions defined as domain entities). But if the roles/permissions are static then using the Simple security module is another alternative. We show both integrations on this page.
Dependency Management
If your application inherits from the Apache Causeway starter app (org.apache.causeway.app:causeway-app-starter-parent) then that will define the version automatically:
<parent>
    <groupId>org.apache.causeway.app</groupId>
    <artifactId>causeway-app-starter-parent</artifactId>
    <version>4.0.0-M2</version>
    <relativePath/>
</parent>
Alternatively, import the core BOM. This is usually done in the top-level parent pom of your application:
<dependencyManagement>
    <dependencies>
        <dependency>
            <groupId>org.apache.causeway.core</groupId>
            <artifactId>causeway-core</artifactId>
            <version>4.0.0-M2</version>
            <scope>import</scope>
            <type>pom</type>
        </dependency>
    </dependencies>
</dependencyManagement>
Setup
Dependency / Imports
In the webapp module of your application, add the following dependency:
<dependencies>
    <dependency>
        <groupId>org.apache.causeway.extensions</groupId>
        <artifactId>causeway-extensions-spring-security-oauth2</artifactId>
        <version>4.0.0-M2</version>
    </dependency>
</dependencies>
Design
The module brings in a transitive dependency to org.springframework.boot:spring-boot-starter-oauth2-client.
Using this, it provides an implementation of the AuthenticatorConverter SPI that recognises the OAuth2 principal provided by the Spring OAuth2 client.
Walk-through (Oauth with Github and Simple authorizor)
Using Spring Security we can configure your app with various authentication providers. In this section we describe how to modify the HelloWorld starter app to use github as an OAuth2 provider. The steps here are based on this Spring tutorial.
AppManifest
In your application’s App Manifest, import CausewayModuleExtSpringSecurityOAuth2 module:
@Configuration
@Import({
        ...
        CausewayModuleExtSpringSecurityOAuth2.class,    (1)
        SimpleAuthorizor.class,                         (2)
        ...
})
public class AppManifest {
}| 1 | The CausewayModuleExtSpringSecurityOAuth2 module brings in a transitive dependency on CausewayModuleSecuritySpring. |
Add in the corresponding Maven dependency:
<dependencies>
    ...
    <dependency>
        <groupId>org.apache.causeway.extensions</groupId>
        <artifactId>causeway-extensions-spring-security-oauth2</artifactId>

        <version>4.0.0-M2</version>
    </dependency>
    ...
</dependencies>
To use the Simple authorizor, add in a reference to its authorizor:
@Configuration
@Import({
        ...
        CausewayModuleExtSpringSecurityOAuth2.class,
        SimpleAuthorizor.class,                         (1)
        ...
})
public class AppManifest {
}| 1 | reference SimpleAuthorizor directly.
|
We also need to add a dependency in Maven:
<dependencies>
    ...
    <dependency>
        <groupId>org.apache.causeway.security</groupId>
        <artifactId>causeway-security-simple</artifactId>
        <version>4.0.0-M2</version>
    </dependency>
    ...
</dependencies>
Code Changes
The OAuth2 integration provided by Spring (seemingly) forwards onto an "/login" endpoint immediately after the user has logged into github, but with an authenticated principal. We therefore use a controller to simply forward directly onto the Wicket Viewer:
-
create this page to redirect:
templates/redirect-immediately.html<!DOCTYPE html PUBLIC "-//W3C//DTD HTML 4.01 Transitional//EN" "http://www.w3.org/TR/html4/loose.dtd"> <html xmlns:th="http://www.thymeleaf.org"> <head> <meta http-equiv="Content-Type" content="text/html; charset=ISO-8859-1"> <meta http-equiv="refresh" content="0;url=/wicket/" /> </head> <body> <div id="wrapper"> </div> </body> </html> -
define this controller for
/login:LoginController.java@Controller @RequestMapping({"/login"}) public class LoginController { @RequestMapping( produces = {"text/html"} ) public String login(HttpServletRequest request, HttpServletResponse response) { return "redirect-immediately"; } }
Next, add in LoginController to the AppManifest.
@Configuration
@Import({
        ...
        CausewayModuleExtSpringSecurityOAuth2.class,
        SimpleAuthorizor.class,
        LoginController.class,
        ...
})
public class AppManifest {

}
Configure permissions
With Simple security module, roles and permissions are provided by a SimpleRealm service.
This can be created for example as a bean within AppManifest:
// ...
public class AppManifest {

    @Bean
    public SimpleRealm realm() {                (1)
        String unusedPassword = null;
        return new SimpleRealm()
            .addRole("admin_role", id->Grant.CHANGE)
            .addUser("danhaywood@apache.org", unusedPassword, List.of("admin_role"))
;
    }
}| 1 | return a realm of required roles and permissions |
Consult the Simple security module documentation for further details on creating a SimpleRealm.
Lastly (and optionally), the swagger/REST API is not configured for oauth2, so we replace the index.html page with one to redirect straight to the Wicket Viewer:
<!DOCTYPE html PUBLIC "-//W3C//DTD HTML 4.01 Transitional//EN" "http://www.w3.org/TR/html4/loose.dtd">
<html xmlns:th="http://www.thymeleaf.org">
<head>
    <meta http-equiv="Content-Type" content="text/html; charset=ISO-8859-1">
    <meta http-equiv="refresh" content="0;url=/wicket/" />
</head>
<body>
<div id="wrapper">
    <!-- we just redirect immediately, because swagger/restful API not configured to use spring security -->
</div>
</body>
</html>
Configuration
We are now ready to configure the app. As described in the this Spring tutorial:
-
register the app on github:
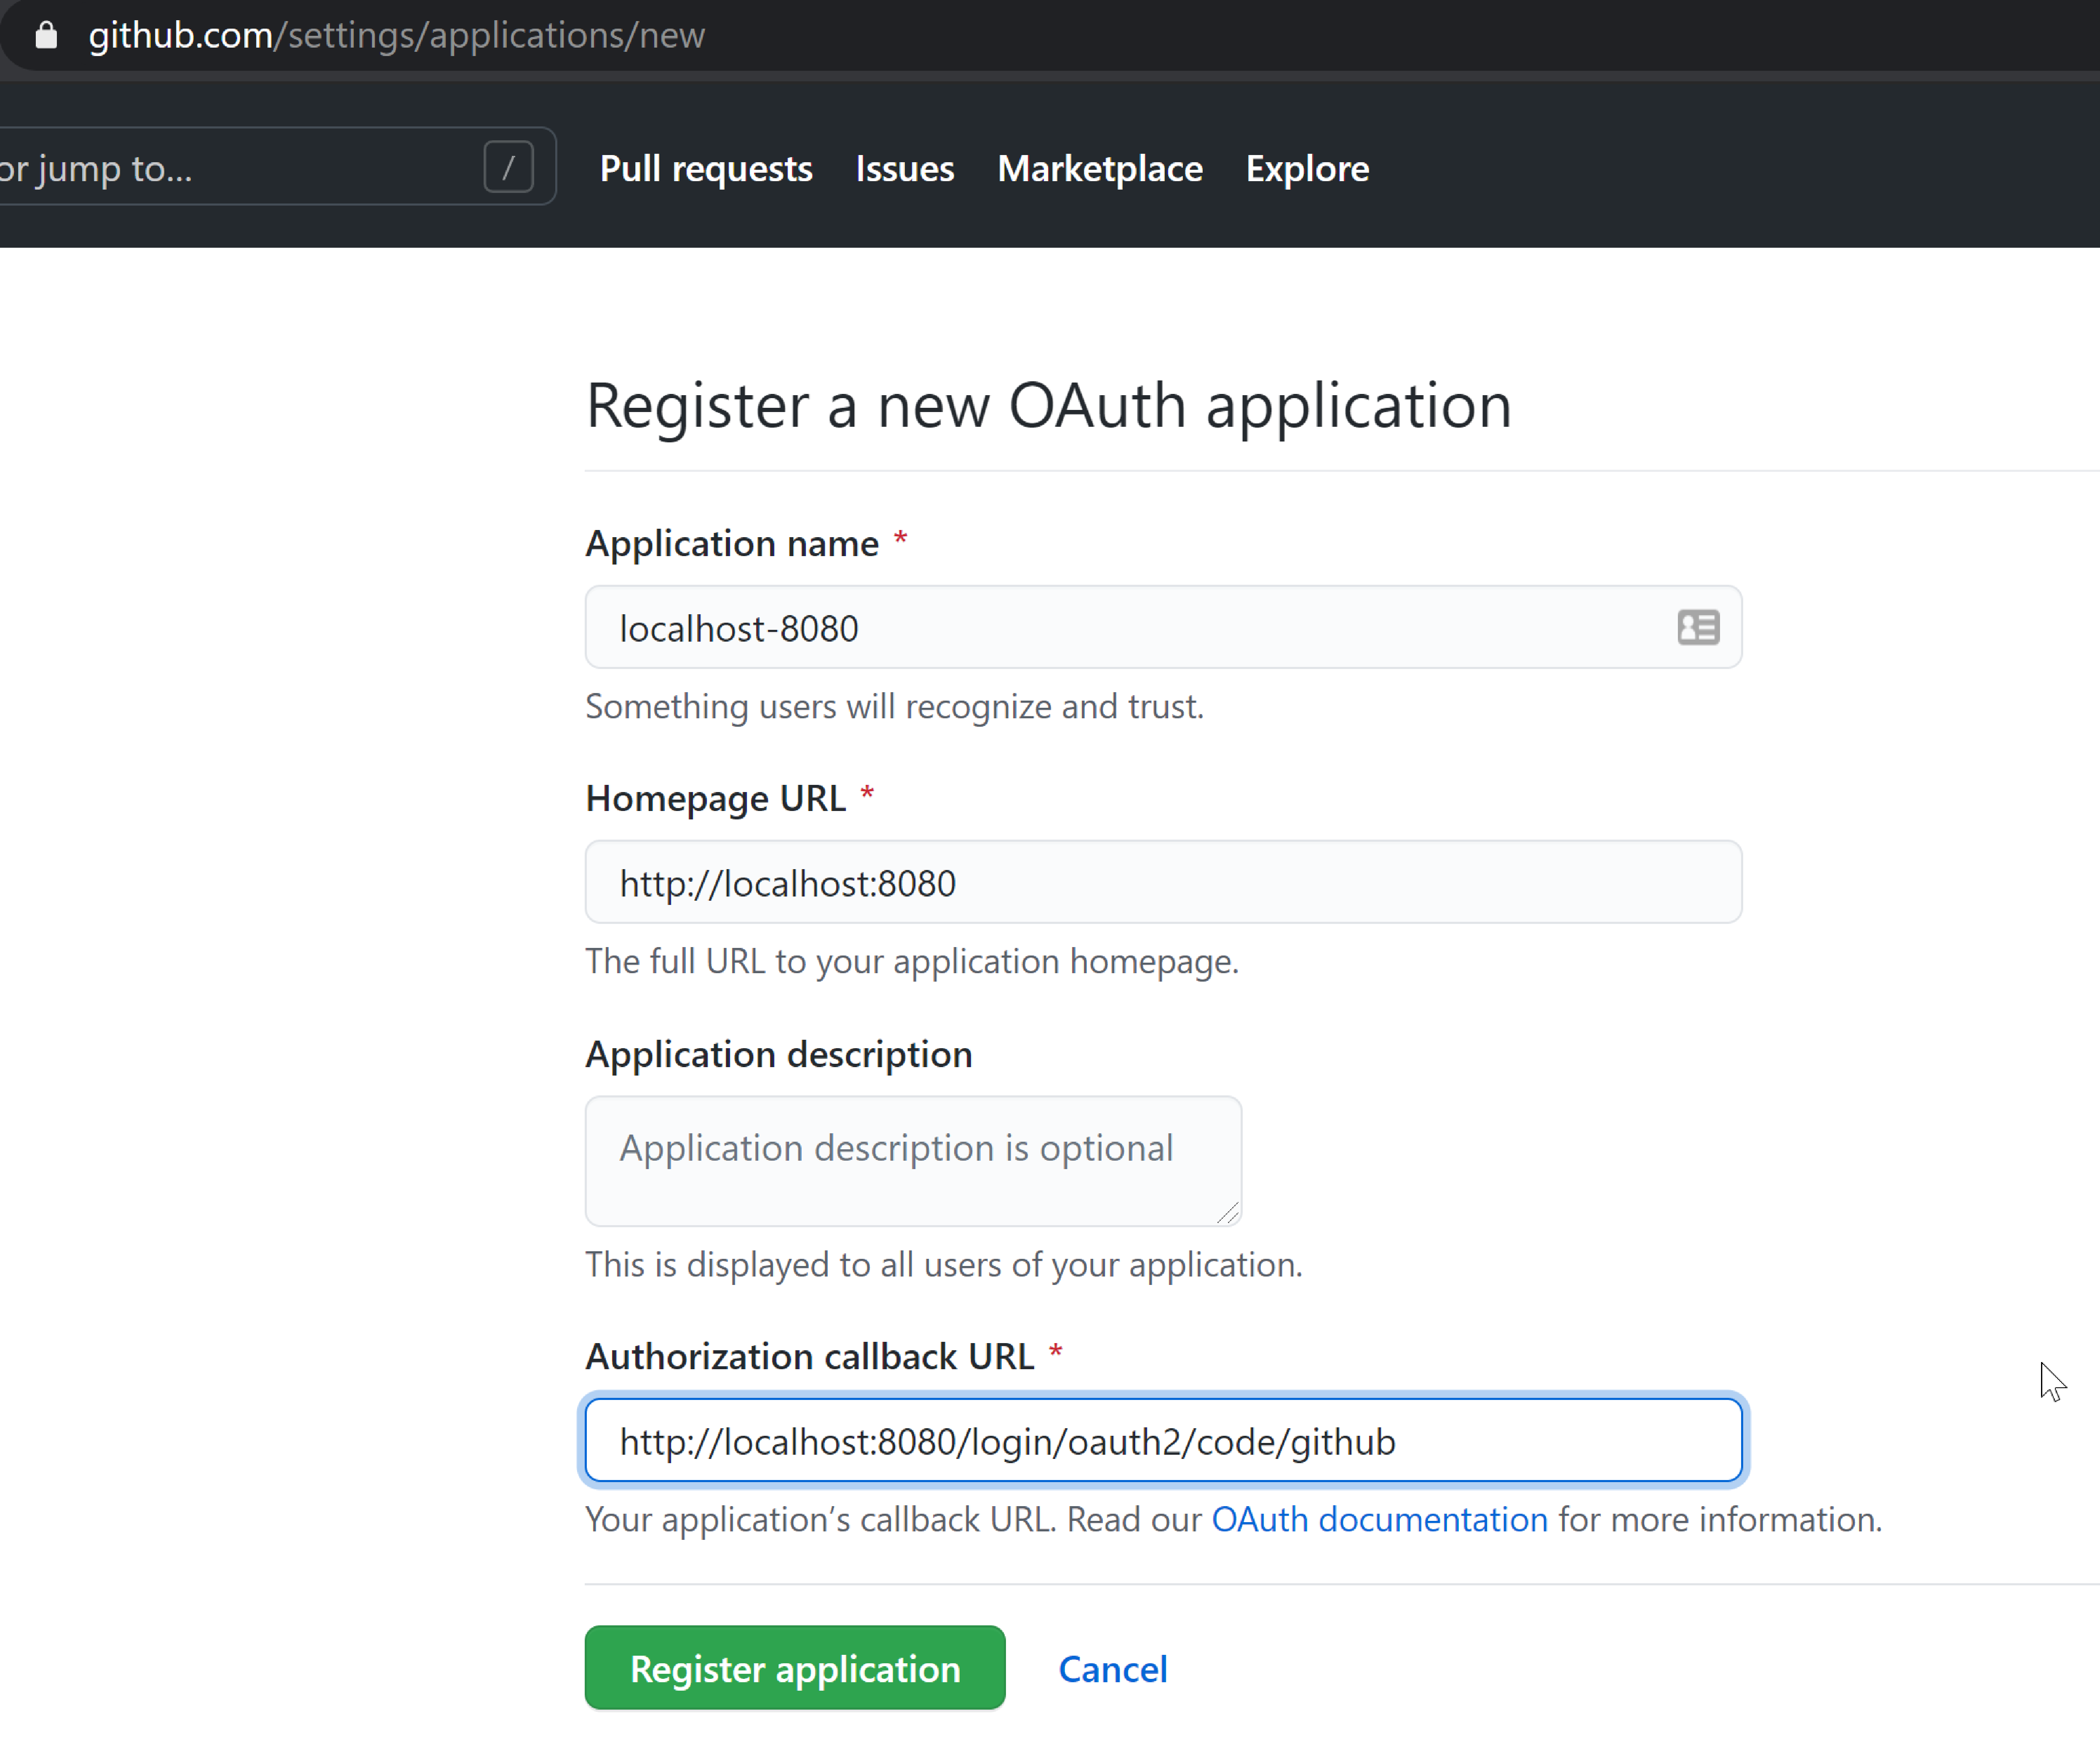
-
obtain the clientId and create a new client secret:
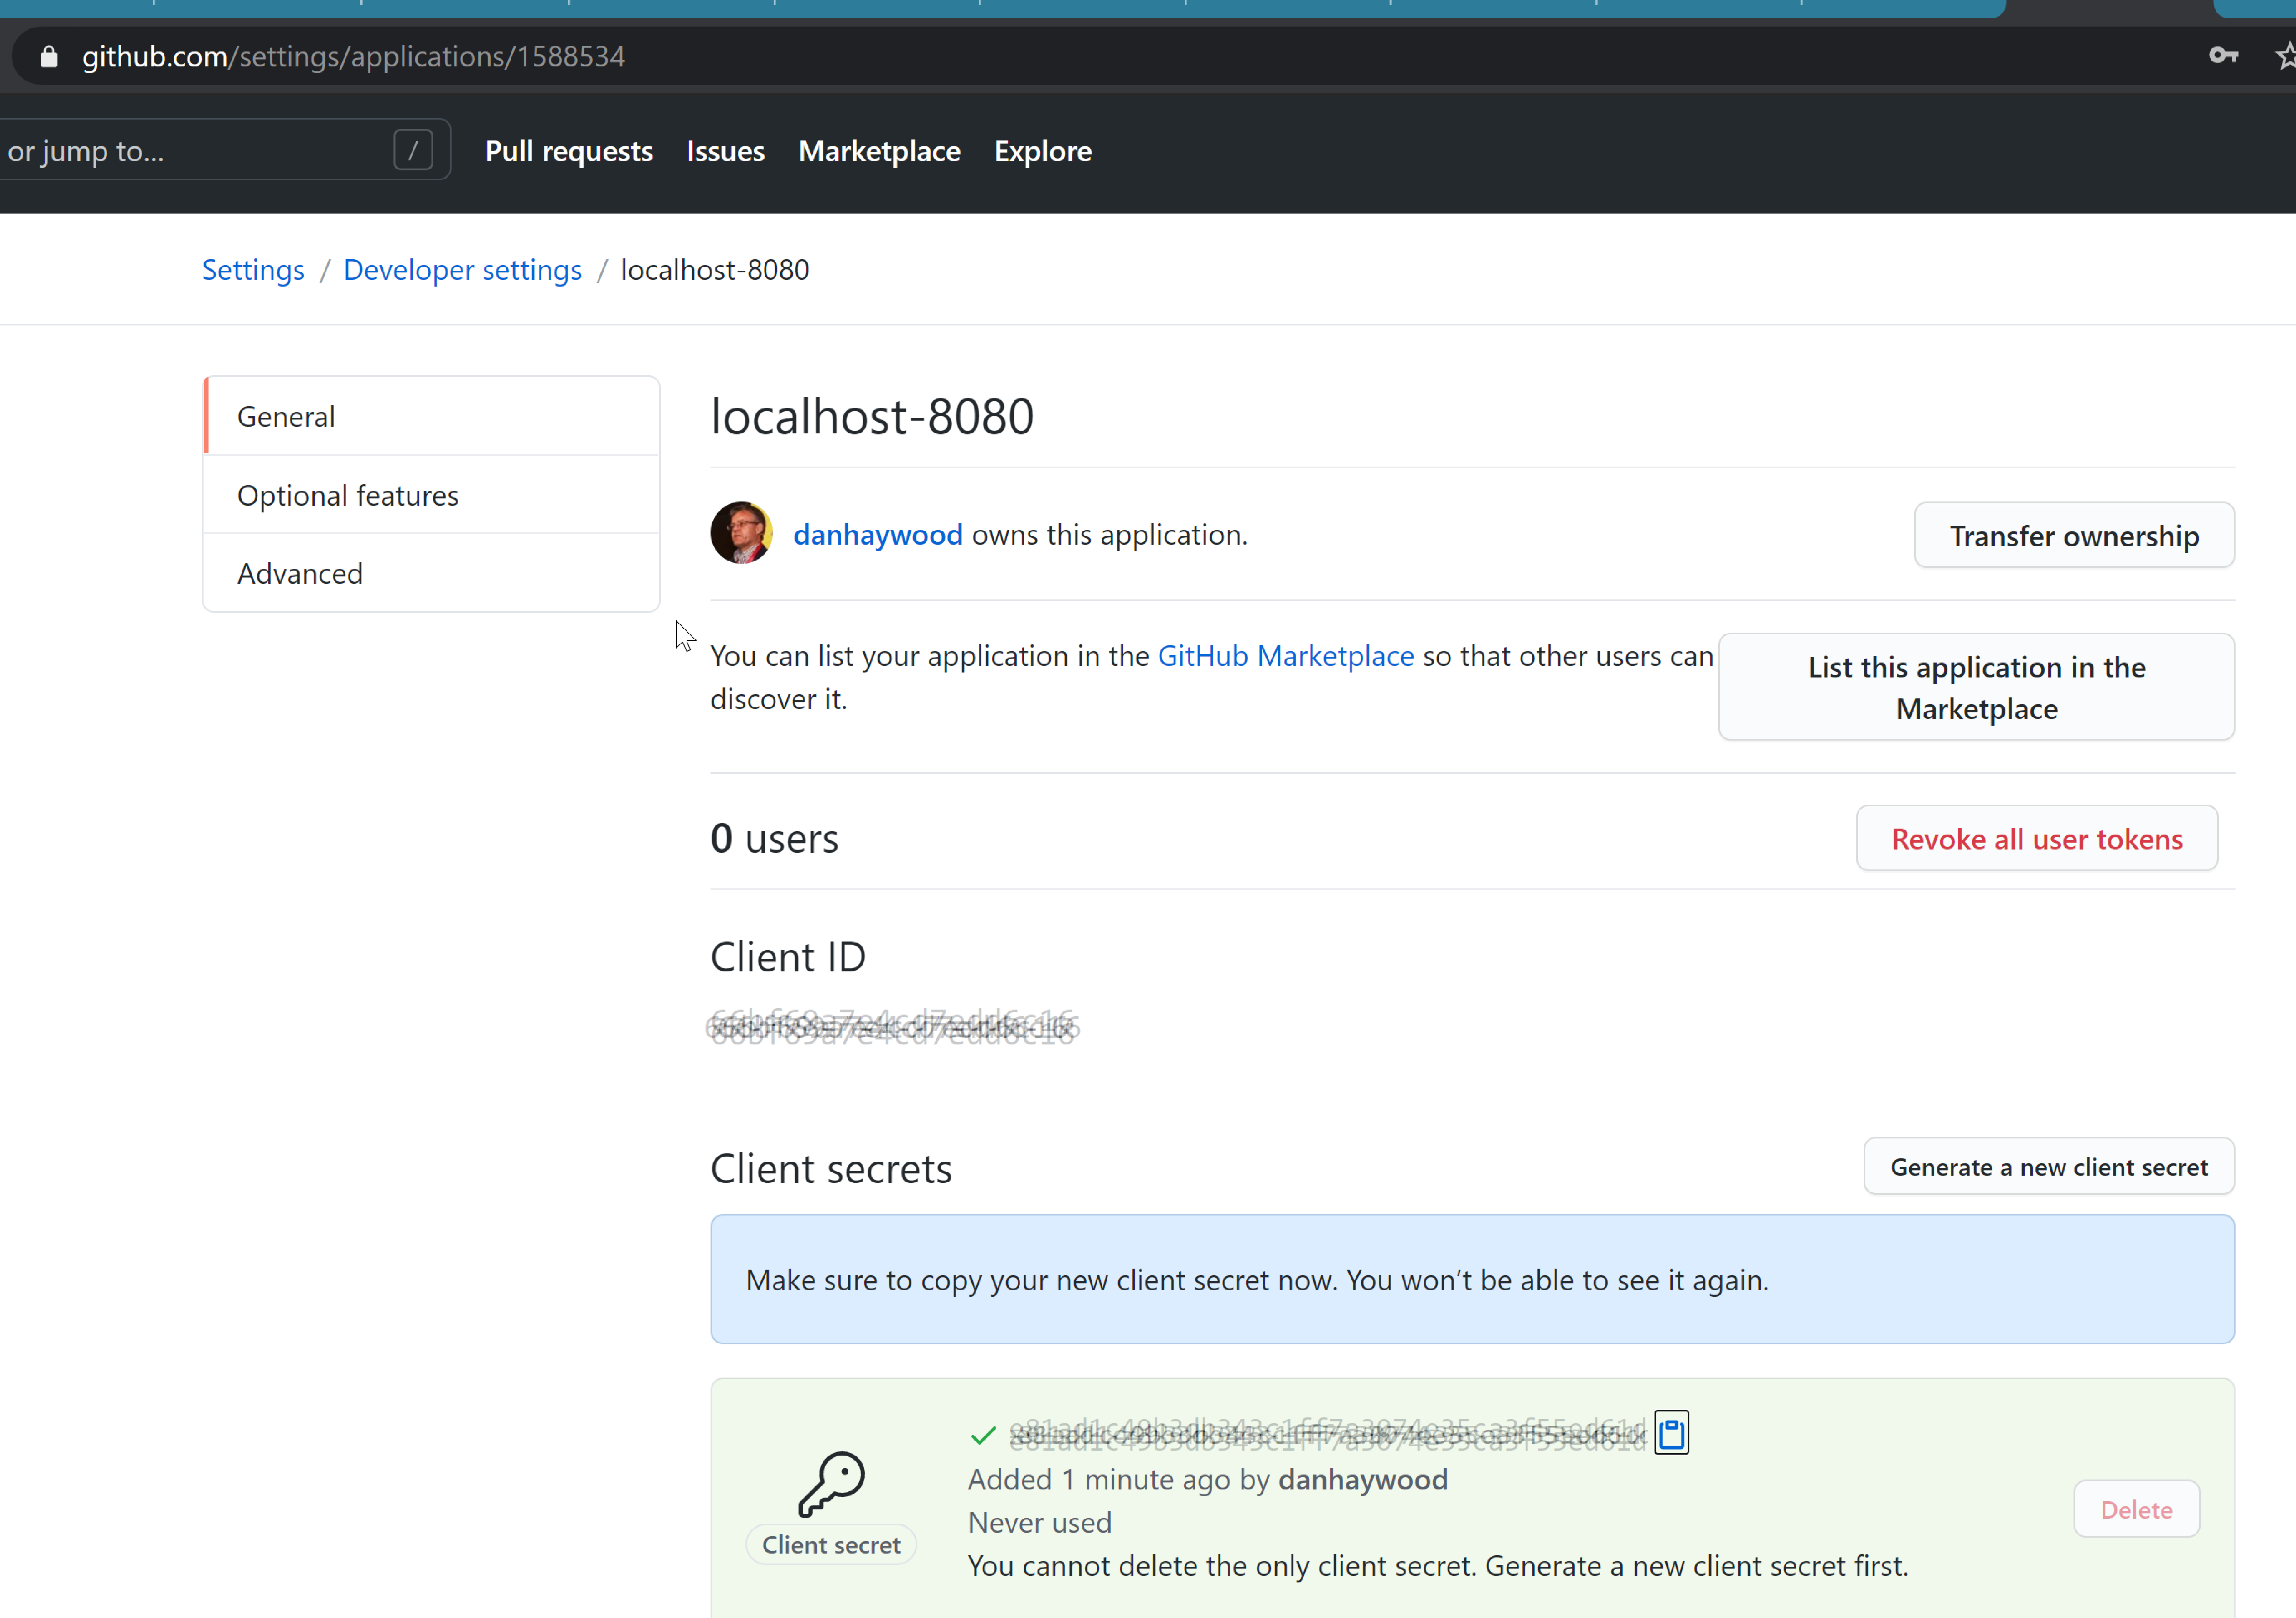
-
update the configuration:
config/application-github-example.propertiesspring.security.oauth2.client.registration.github.clientId=XXXX spring.security.oauth2.client.registration.github.clientSecret=XXXXXXXX
Run the application
You should now be able to run the application, setting the "github-example" profile using this JVM argument:
-Dspring.profiles.active=github-example
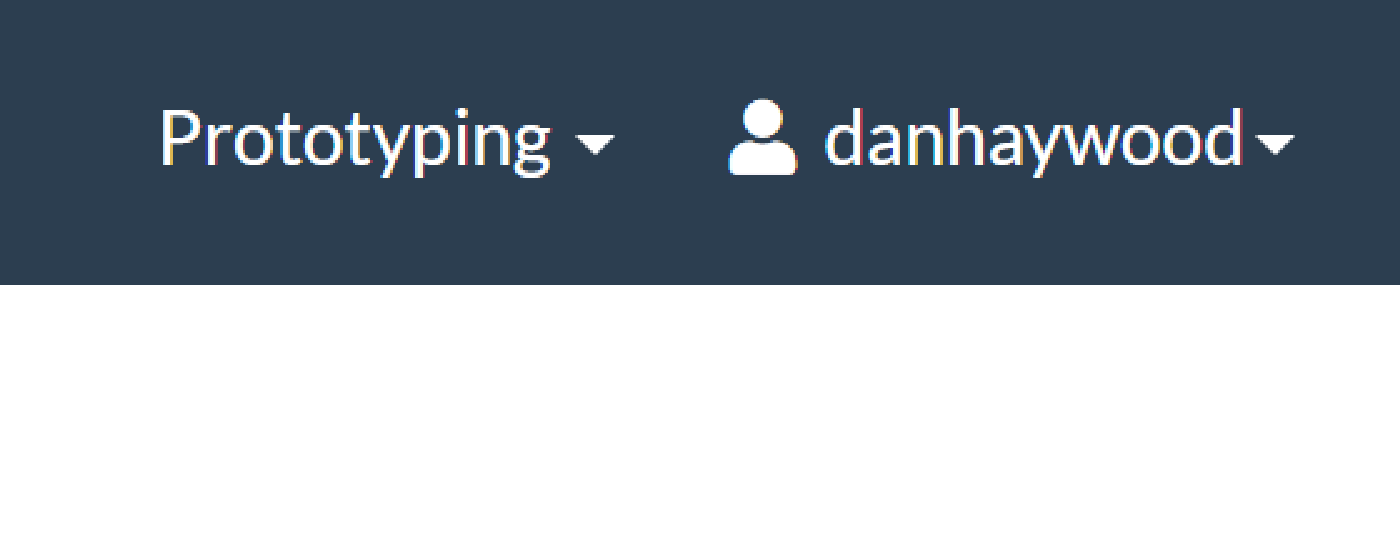
If you are already signed into github:
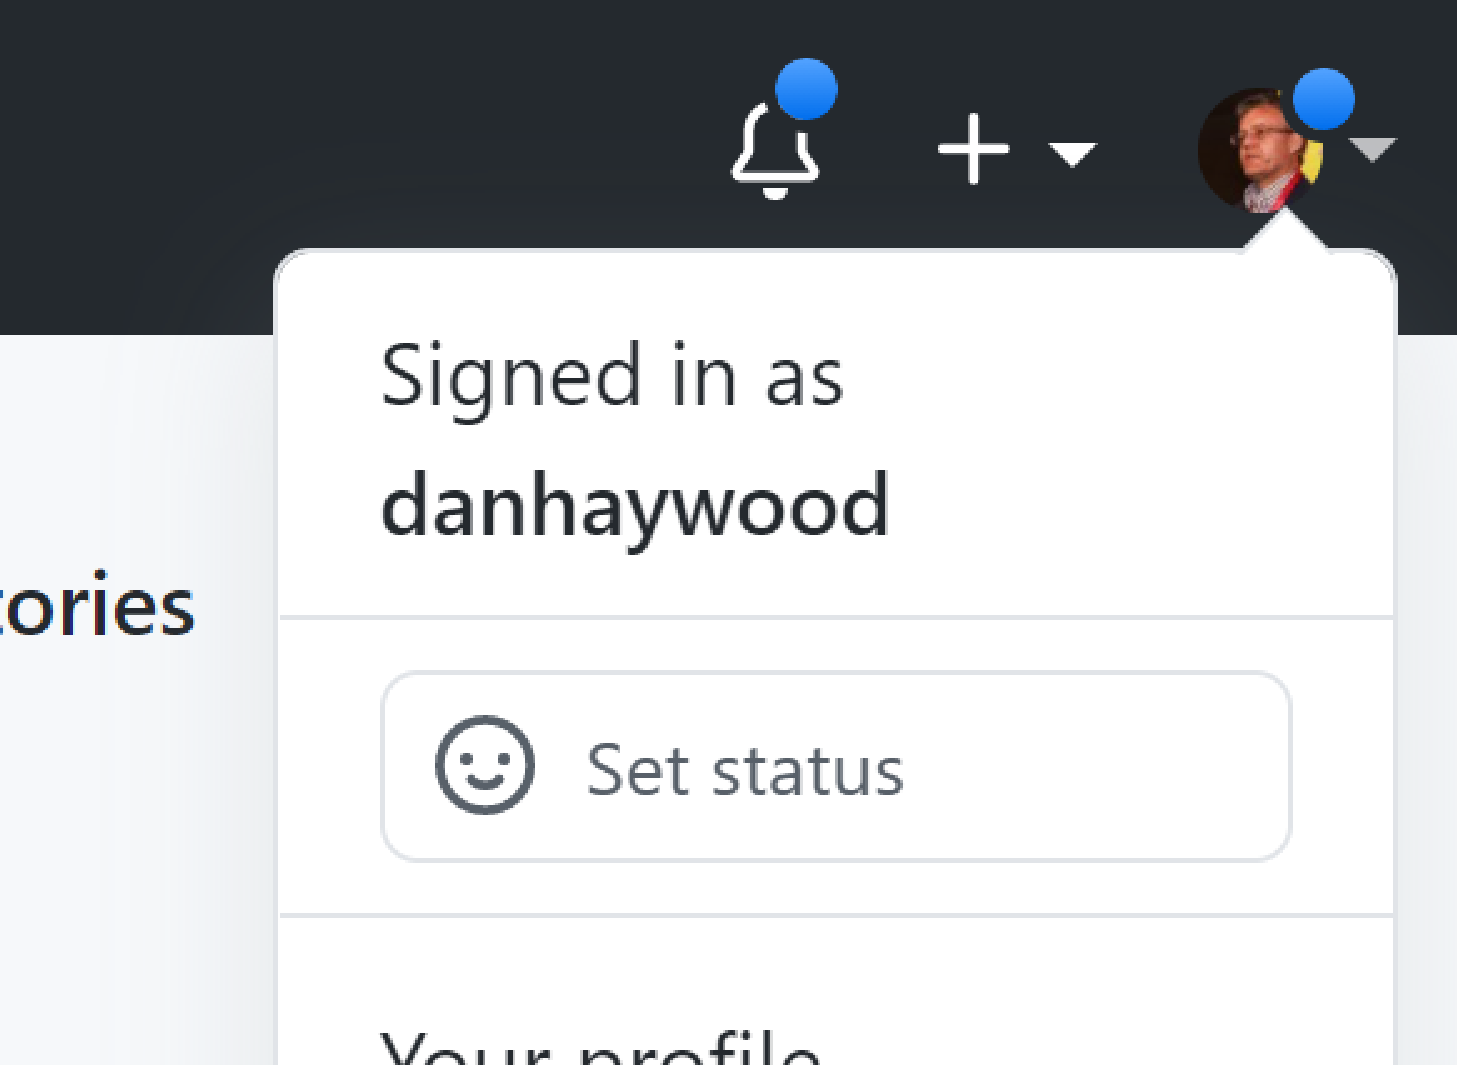
then you should be logged in directly; the app will show your user name:
On the other hand, if you are not signed in then you will be redirected to the github login page:
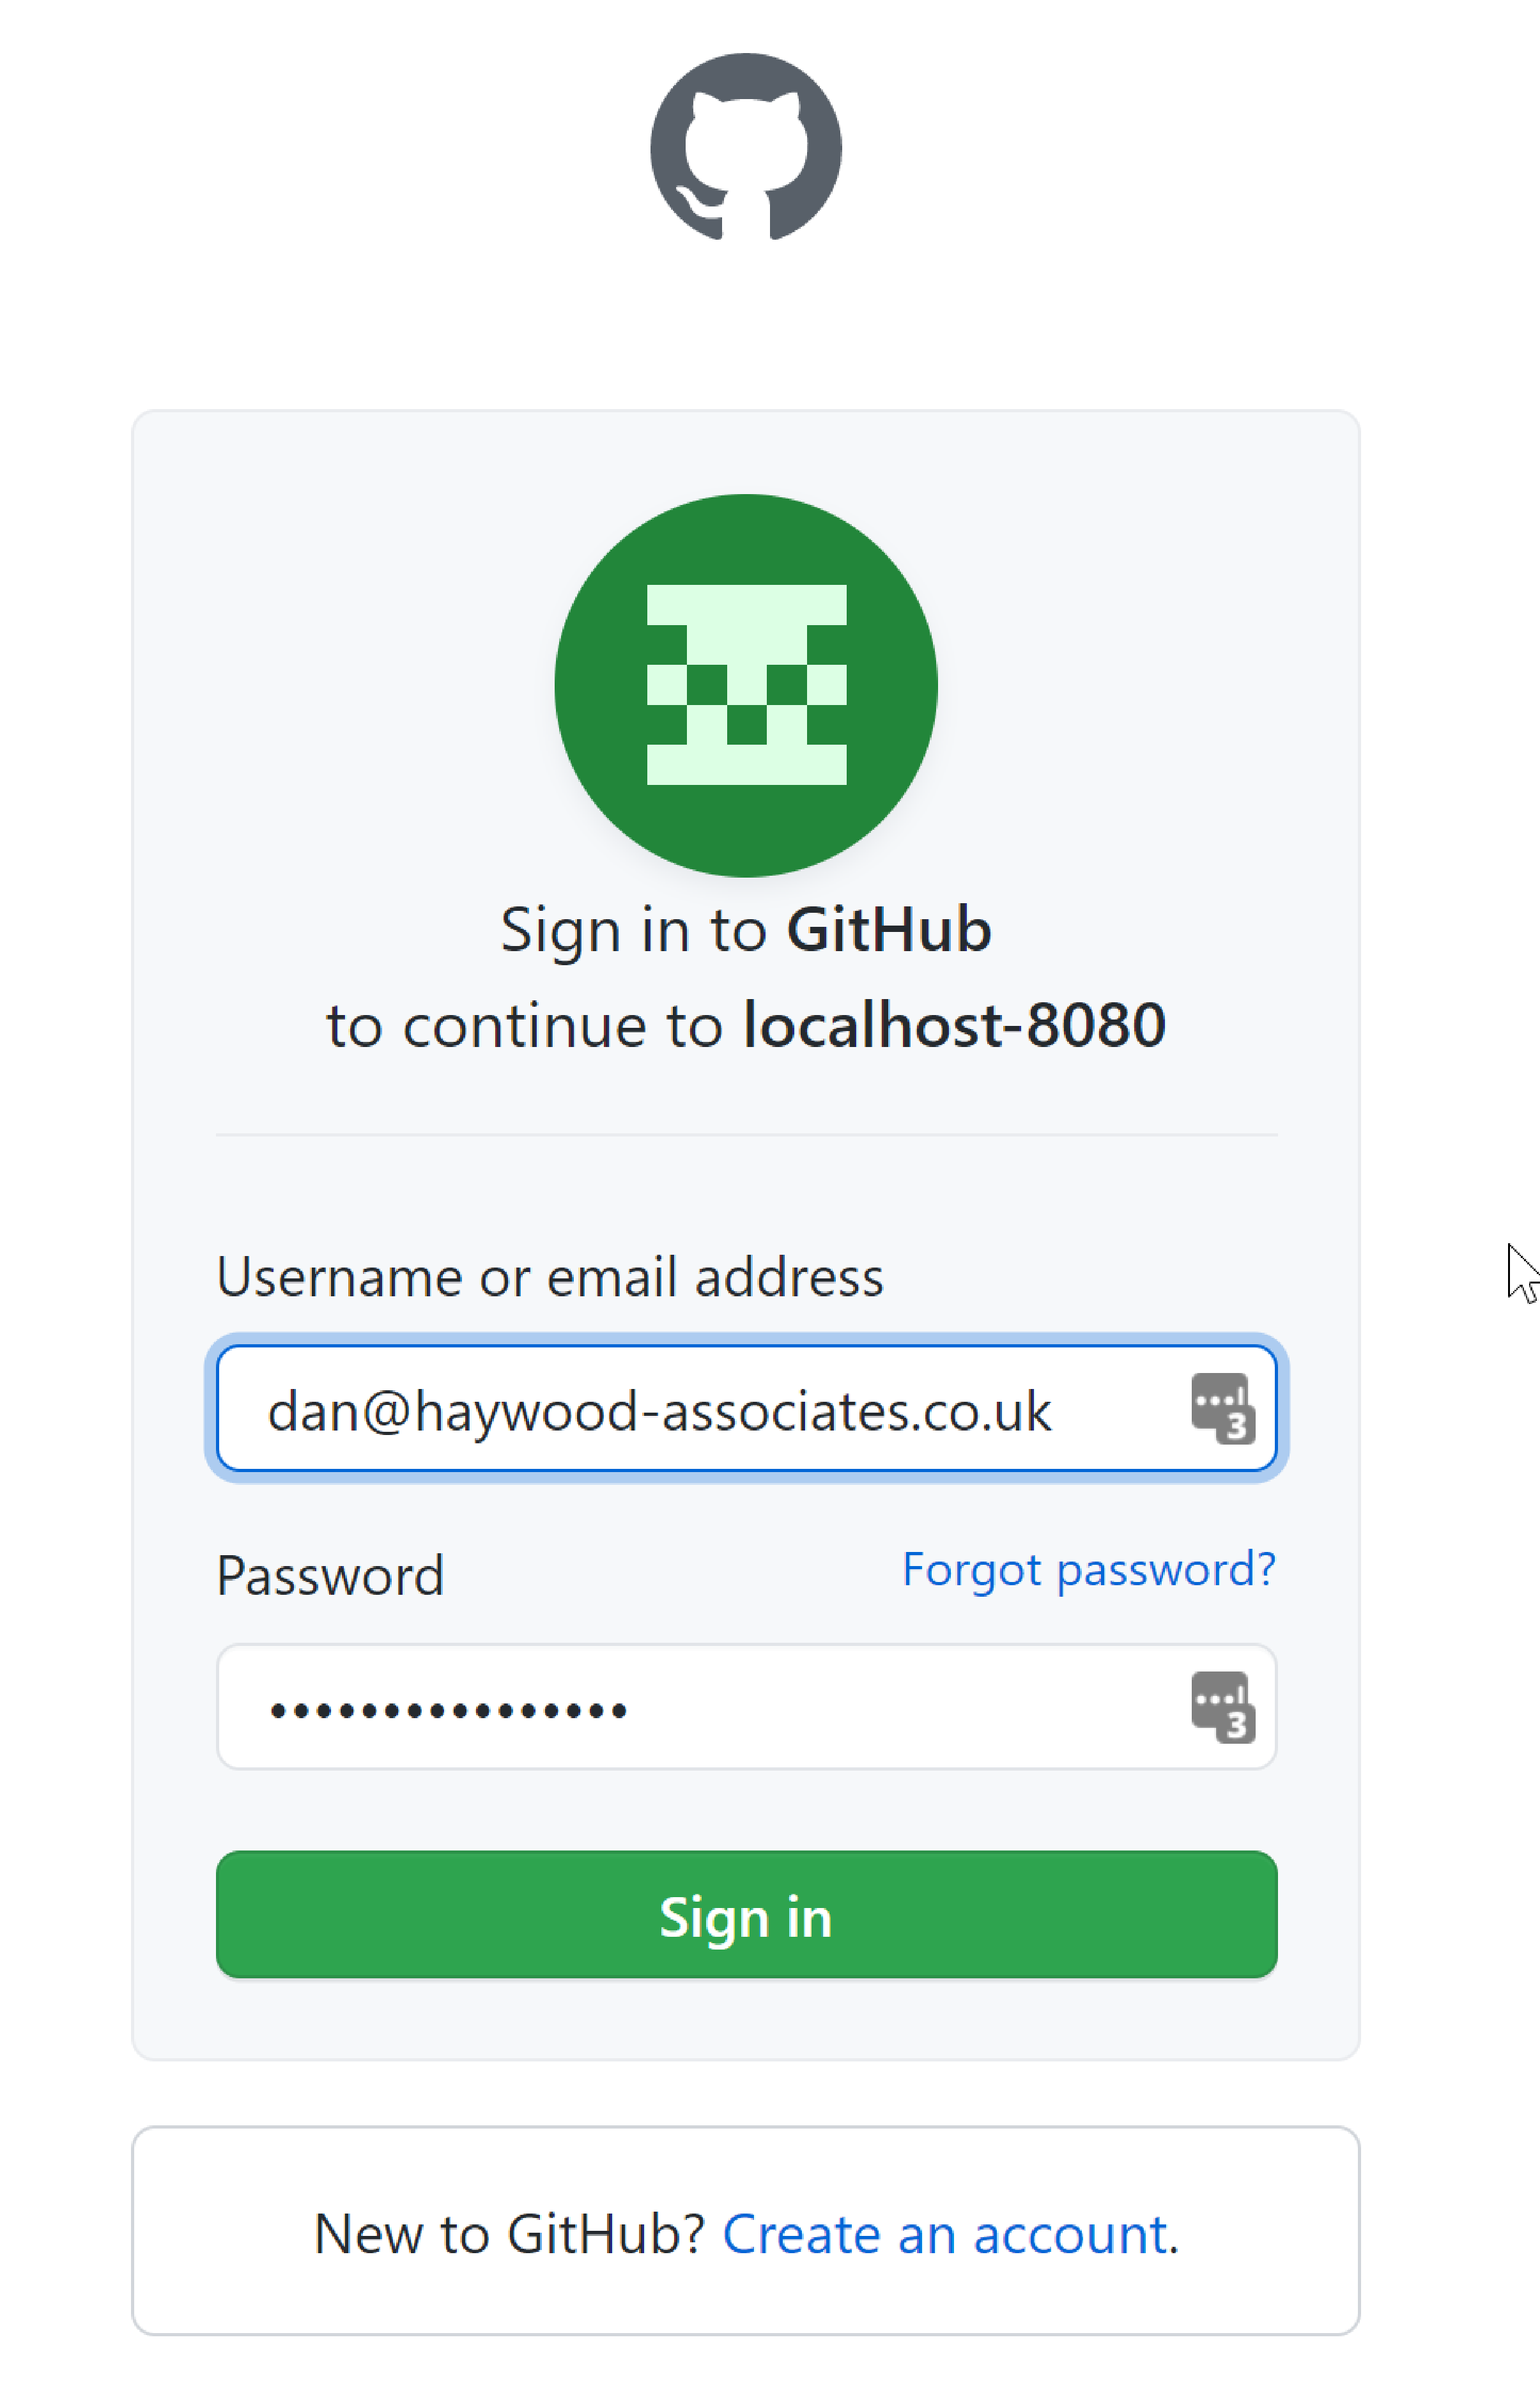
If you have 2FA enabled, then this also works:
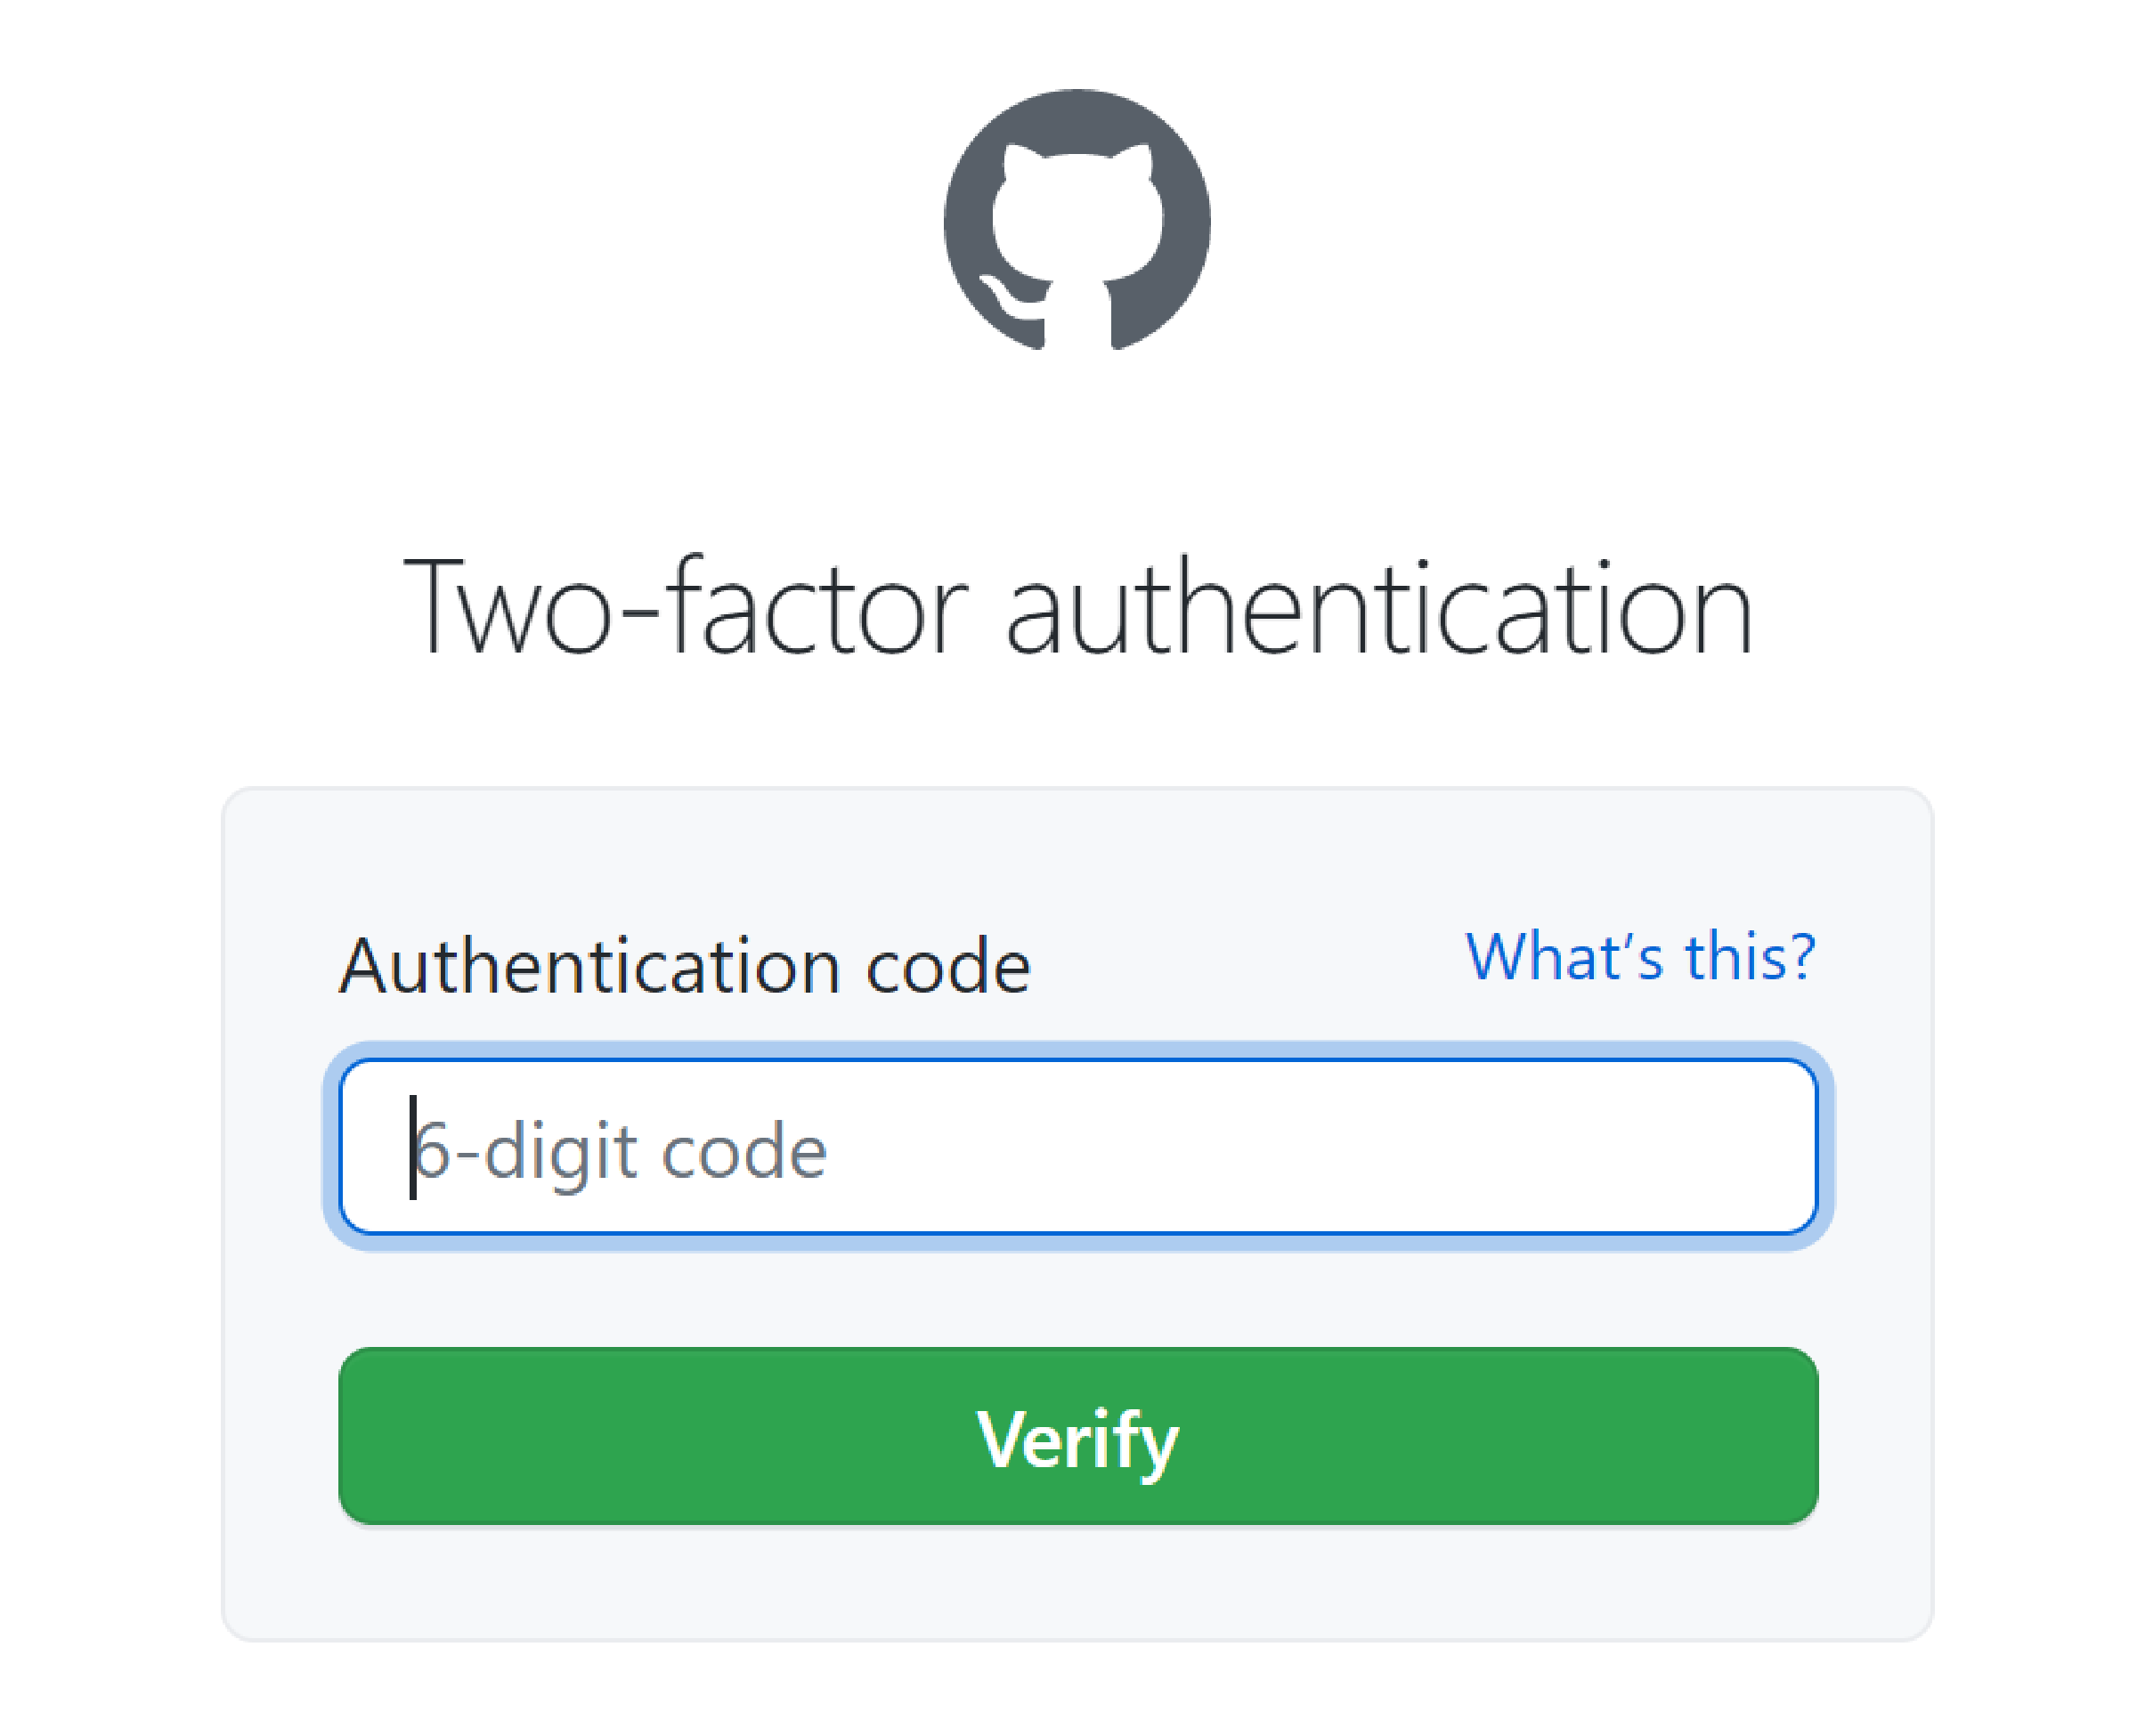
and then, once again, you will be redirected to the app and it will show your user name:
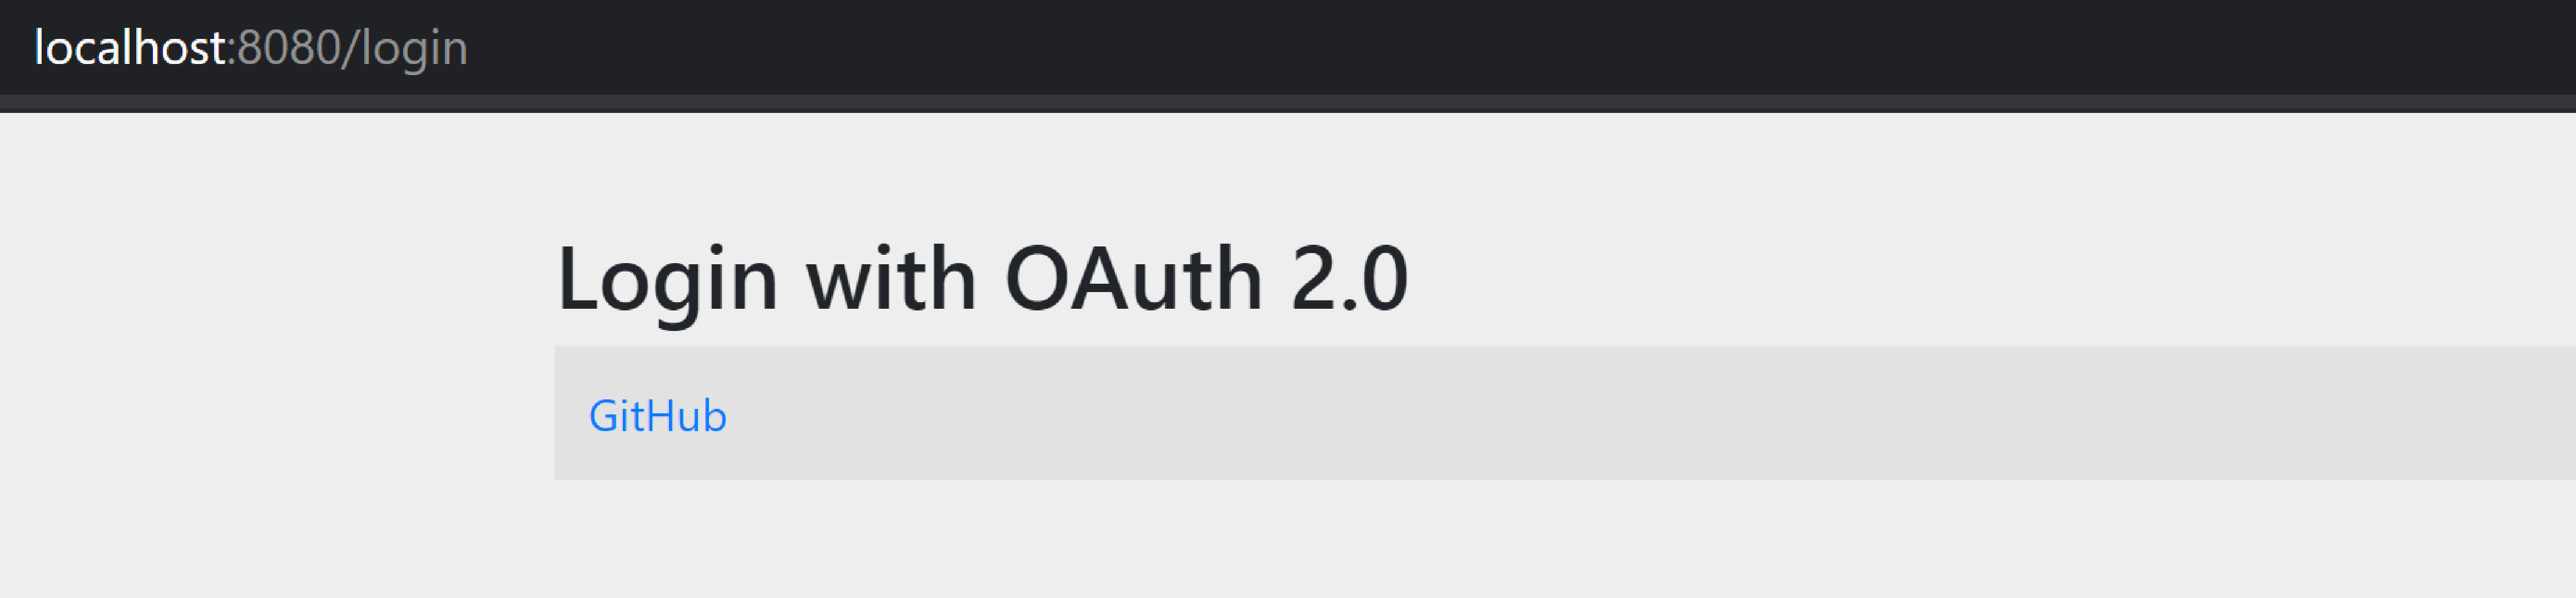
Finally, if you log out then Spring will show a page to allow you to trigger the login process:
Walk-through (Oauth with Azure and Secman authorizor)
Using Spring Security we can configure your app with various authentication providers. In this section we briefly discuss configuring an app to use Microsoft Azure for both:
-
server-side login flow
in other words for end-users accessing the Wicket viewer), and
-
client-side login flow with JWT
in other words for REST programmatic clients accessing the Restful Objects viewer.
The server-side login flow is (as you might expect) quite similar to that required by Github.
AppManifest
@Configuration
@Import({
        ...
        CausewayModuleExtSpringSecurityOAuth2.class,
        CausewayModuleExtSecmanDelegatedSpringOauth2.class,         (1)
})
@EnableWebSecurity                                                  (2)
@ComponentScan(basePackageClasses = AppManifest.class)
public class AppManifest {

    // ...
}| 1 | Using secman for permissions |
| 2 | We’ll use Spring APIs to configure the authentication flows |
For the purpose of this walkthrough, we’ll use the implementation provided by SecMan.
To use the Secman authorizor, also add in the corresponding dependency:
<dependencies>
    <dependency>
        <groupId>org.apache.causeway.extensions</groupId>
        <artifactId>causeway-extensions-secman-integration</artifactId>
        <version>4.0.0-M2</version>
    </dependency>
</dependencies>
You’ll need to ensure that the users have access to the appropriate roles that grant them permissions; see the Secman docs.
In addition, we use Spring’s APIs to configure the two authentication flows:
// ,...
@EnableWebSecurity                                                              (1)
public class AppManifest {

    @Bean
    @Order(2)
    SecurityFilterChain webSecurity(HttpSecurity http) throws Exception {       (2)
        http
            .cors()
                .and()
            .authorizeHttpRequests()
                .antMatchers("/**")                 (3)
                    .authenticated()
                .anyRequest()
                    .authenticated()
                .and()
            .oauth2Login()
                .and()
            .logout()
                .permitAll()
        ;
        return http.build();
    }

    @Bean
    @Order(1)
    SecurityFilterChain apiSecurity(HttpSecurity http) throws Exception {       (4)
        http
            .requestMatcher(new RequestHeaderRequestMatcher("Authorization"))
            .cors()
                .and()
            .authorizeHttpRequests()
                .antMatchers("/**")                 (4)
                    .authenticated()
                .and()
            .oauth2ResourceServer()
                .jwt()
                    .and()
                .and()
            .sessionManagement()
                .disable()
        ;
        return http.build();
    }
}| 1 | as noted above, we use Spring APIs to configure the authentication flows |
| 2 | configures the server-side flow |
| 3 | configures the client-side flow |
| 4 | uses Apache Ant style matching syntax |
Azure AD Config
Login to the Azure Portal:
-
open the Azure Active Directory blade
-
App Registrations
-
New registration
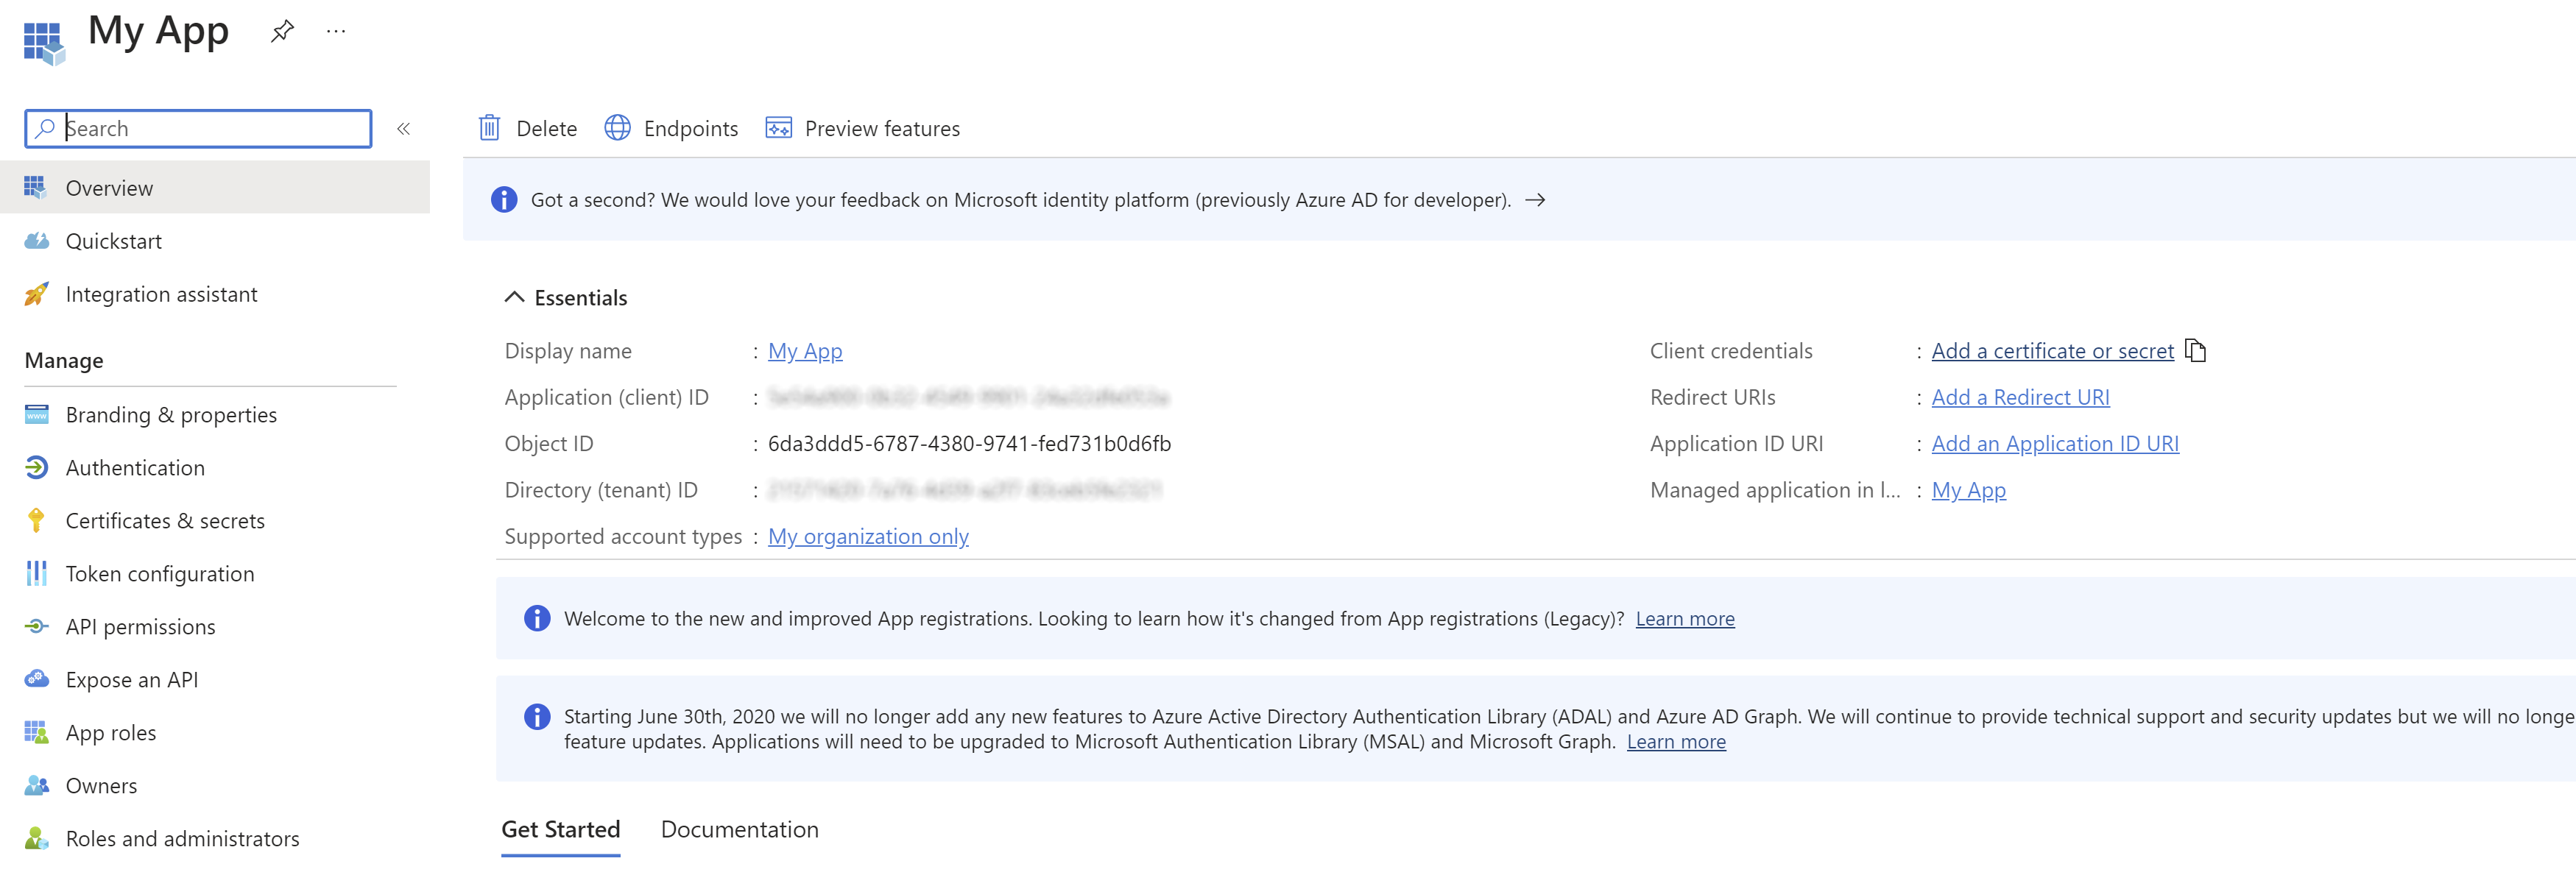
Enter any name; leave the other fields empty for now:
-
Create new client secret (link to do so is top right)
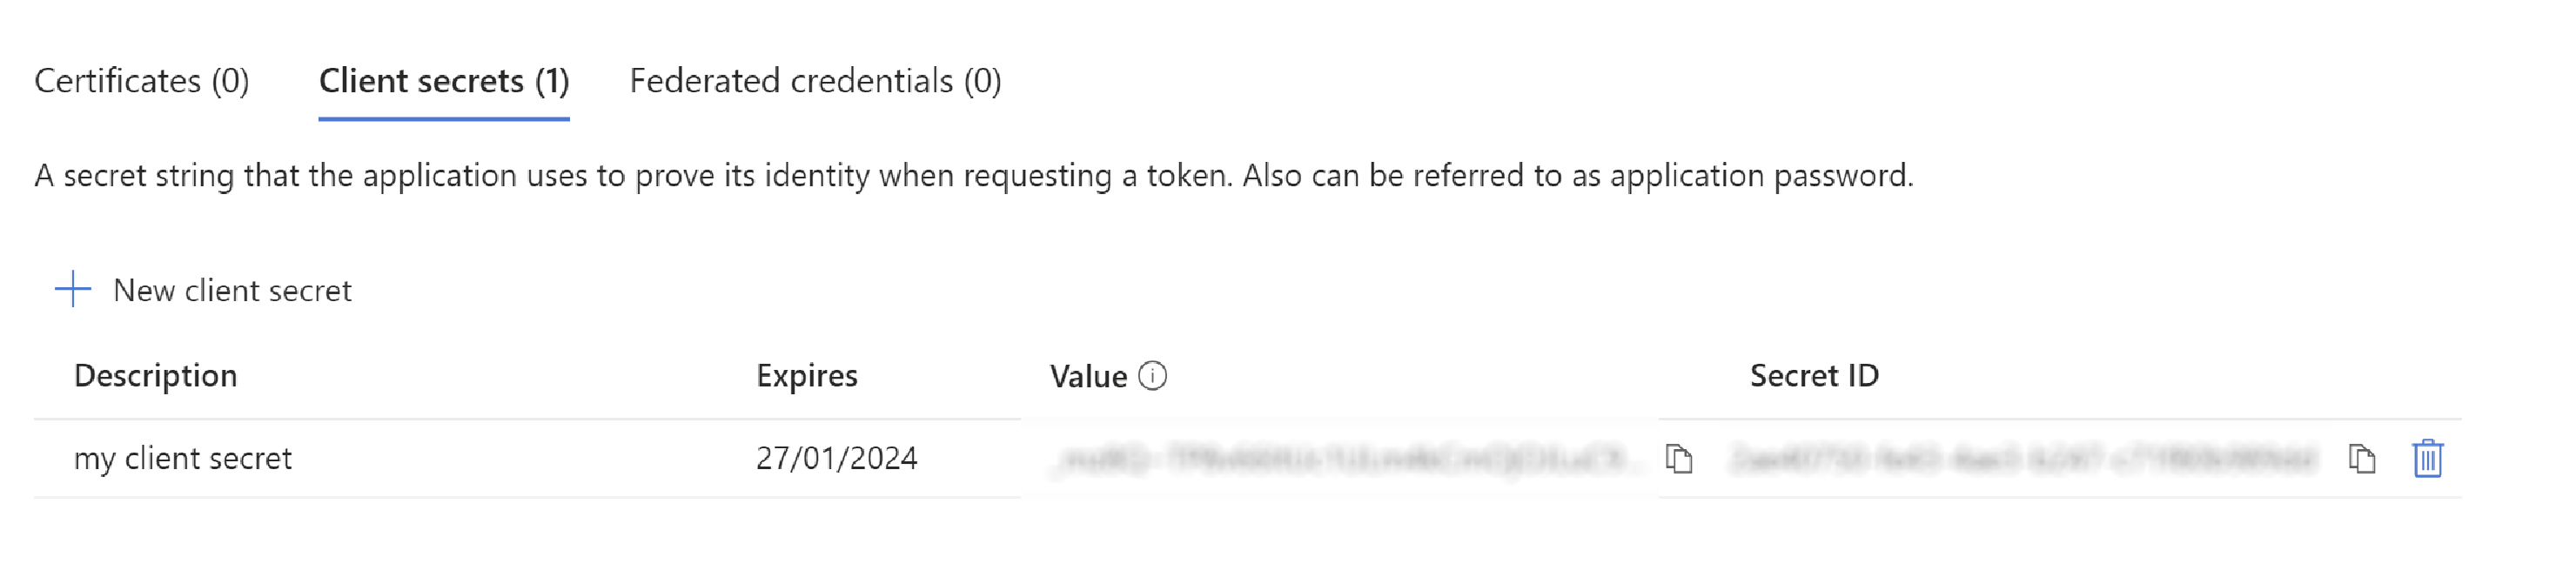
Copy this value immediately; it is not accessible later.
-
Add redirect URI, specifying the "Web" platform first.
For example:
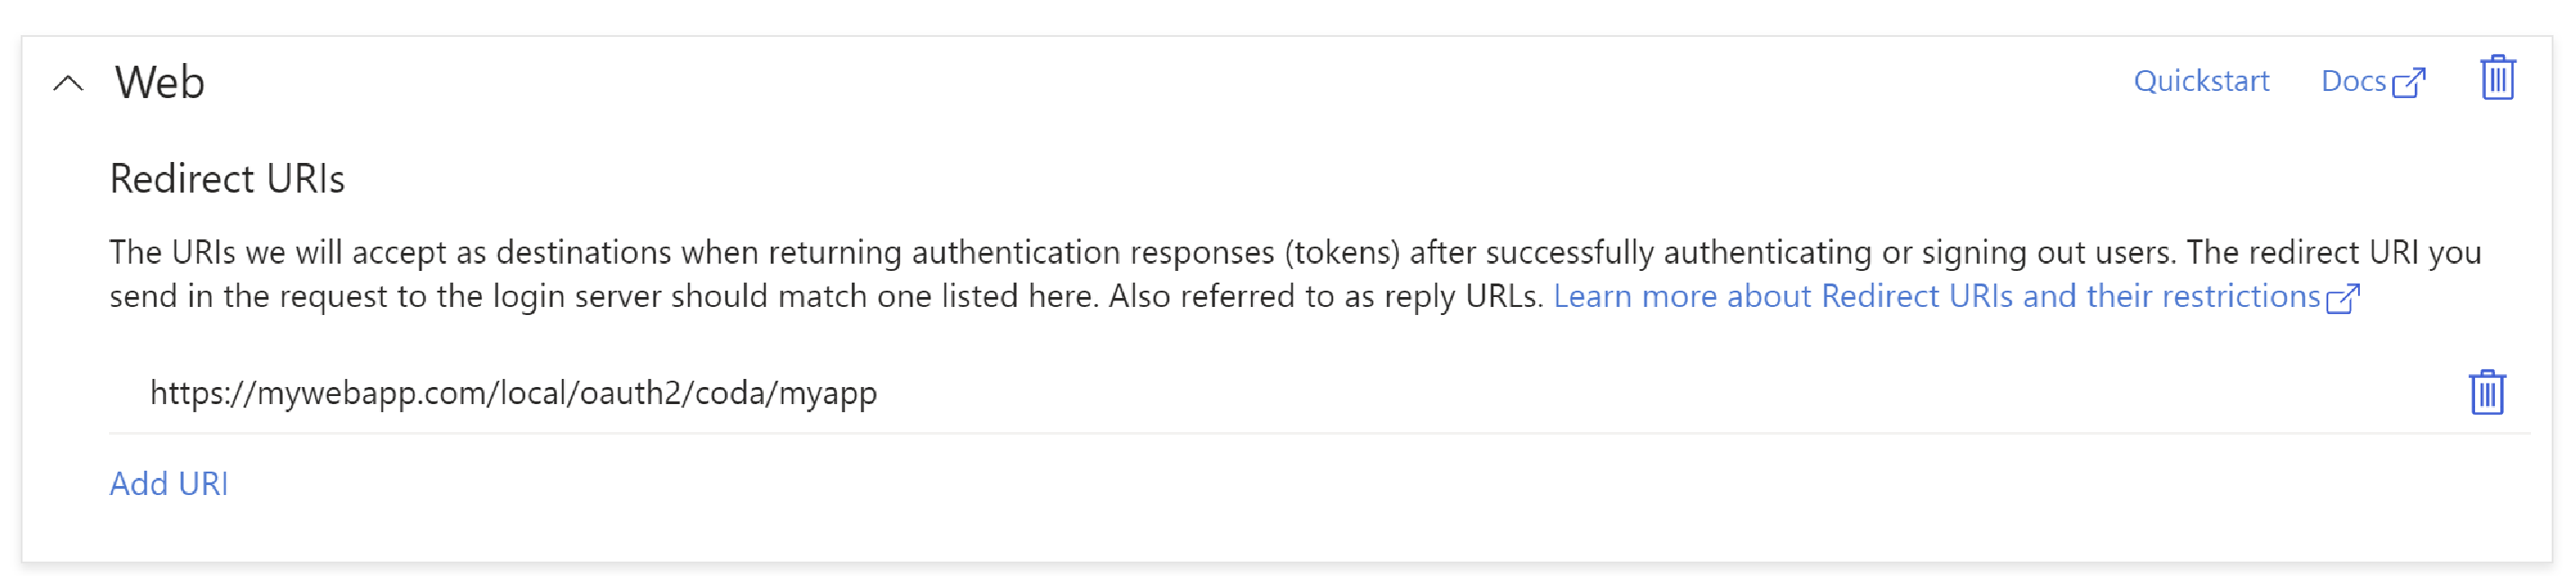
In the above,
https://mywebapp.comis the server to which the deployed, the/local/oauth2/code/is fixed, while the suffix "myapp" is the name of your app. This app name is used in the configuration of the app, see below -
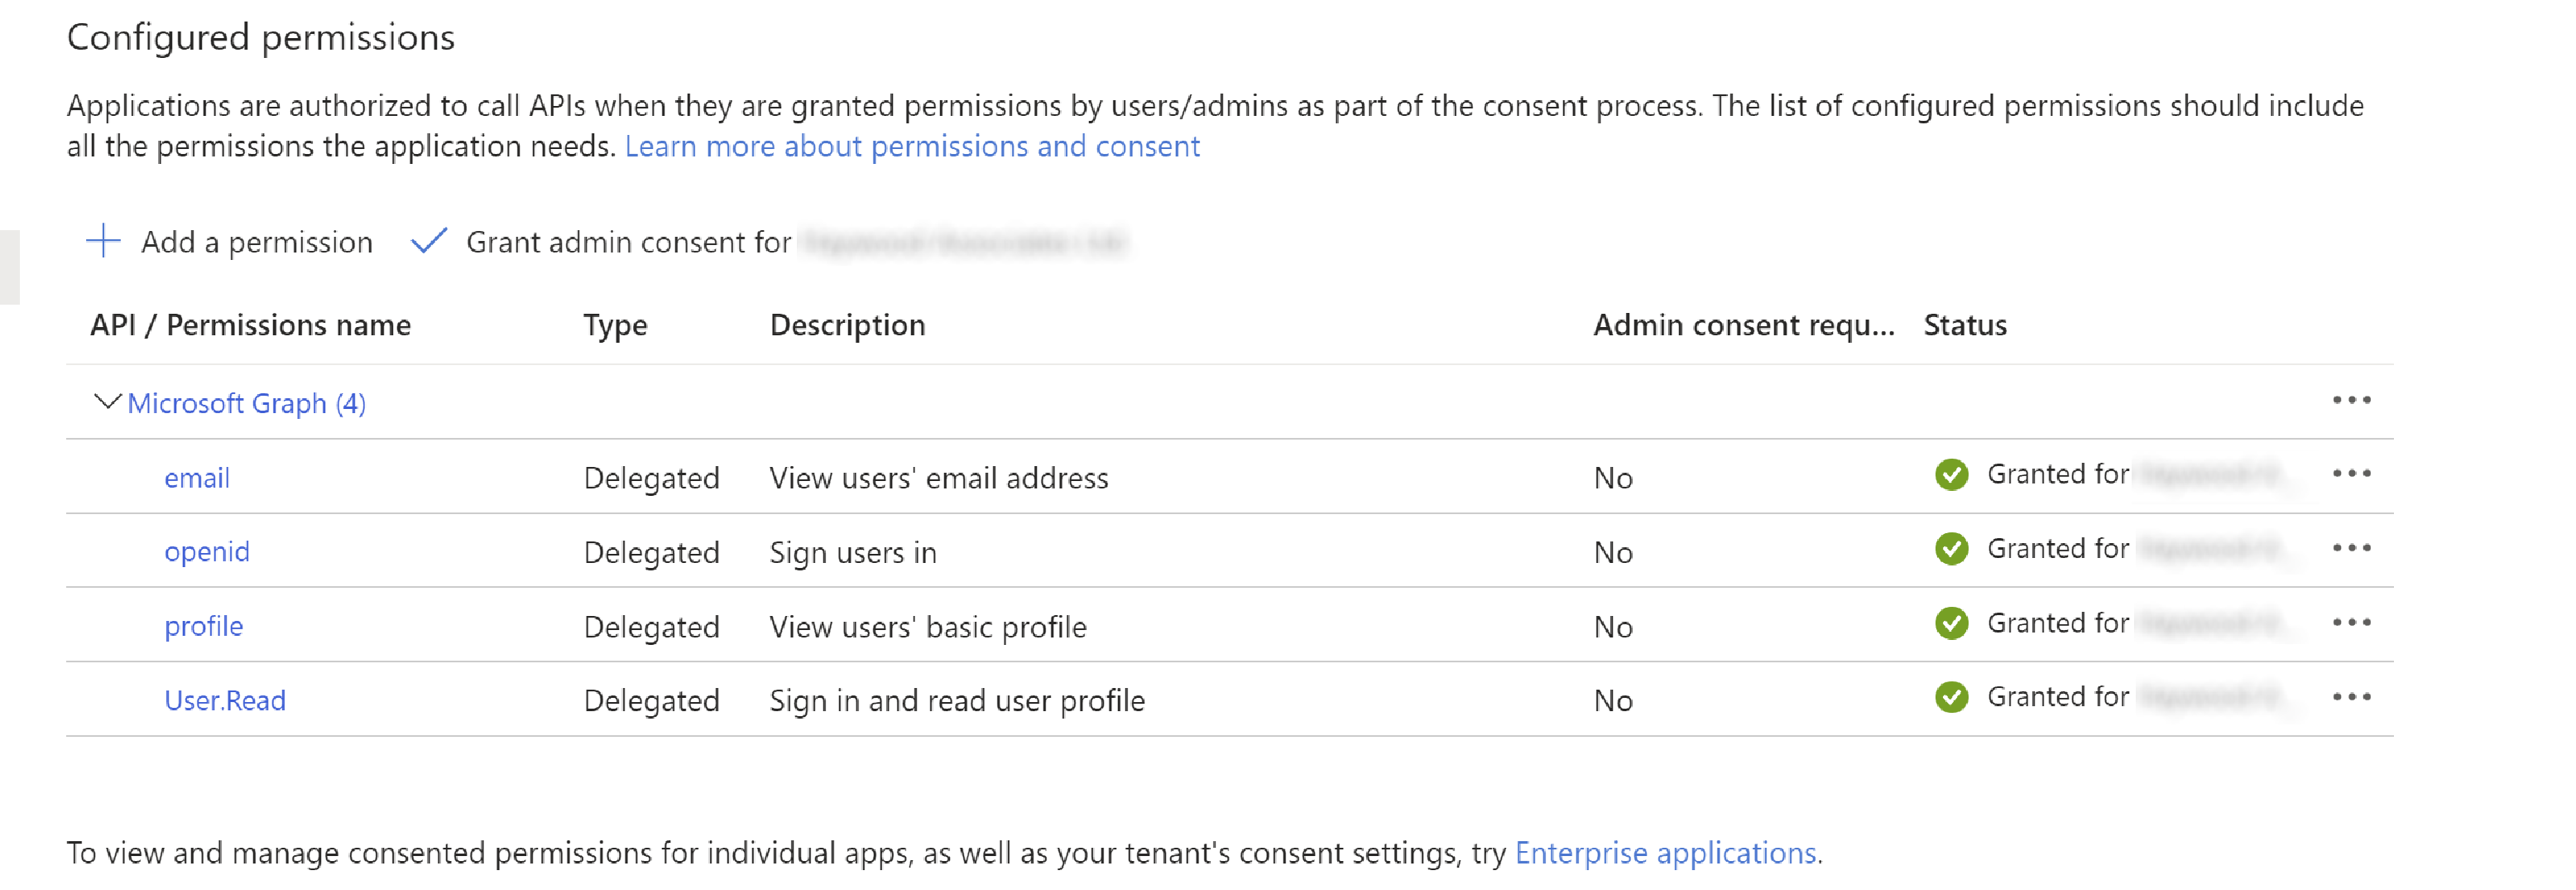
Add API permissions:
Configuration Properties
Finally need to configure the app to use Oauth:
o365.tenantId=XXXXXXXX-XXXX-XXXX-XXXX-XXXXXXXXXXXX  (1)

spring.security.oauth2.client.registration.myapp.provider=o365
spring.security.oauth2.client.registration.myapp.client-name=MyApp                                              (2)
spring.security.oauth2.client.registration.myapp.client-id=XXXXXXXX-XXXX-XXXX-XXXX-XXXXXXXXXXXX                 (3)
spring.security.oauth2.client.registration.myapp.client-secret=XXXXXXXXXXXXXXXXXXXXXXXXXXXXXXXXXXXXXXXX         (4)
spring.security.oauth2.client.registration.myapp.redirect-uri=http://mywebapp.com:8080/login/oauth2/code/myapp  (5)
spring.security.oauth2.client.registration.myapp.scope=openid, profile, email, user.read                        (6)
spring.security.oauth2.client.registration.myapp.authorization-grant-type=authorization_code

spring.security.oauth2.client.provider.o365.token-uri=https://login.microsoftonline.com/${o365.tenantId}/oauth2/v2.0/token
spring.security.oauth2.client.provider.o365.jwk-set-uri=https://login.microsoftonline.com//${o365.tenantId}/discovery/v2.0/keys
spring.security.oauth2.client.provider.o365.authorization-uri=https://login.microsoftonline.com//${o365.tenantId}/oauth2/v2.0/authorize
spring.security.oauth2.client.provider.o365.user-name-attribute=email
spring.security.oauth2.resourceserver.jwt.jwk-set-uri=https://login.microsoftonline.com/${o365.tenantId}/discovery/v2.0/keys| 1 | Azure tenant Id |
| 2 | Application (or client) name, recommend that this corresponds to the app name when the client was registered in Azure |
| 3 | Azure client Id, obtained from the application registration page |
| 4 | Azure client secret, as setup in the Azure portal |
| 5 | Redirect URI; must exactly match the redirect URI specified in the Azure portal |
| 6 | Scope matches the API permissions set up in the Azure portal. |
And, to enable JWT (REST client access), also add in:
causeway.viewer.restfulobjects.authentication.strategy-class-name=\
    org.apache.causeway.extensions.spring.security.oauth2.restful.AuthenticationStrategyJwt